
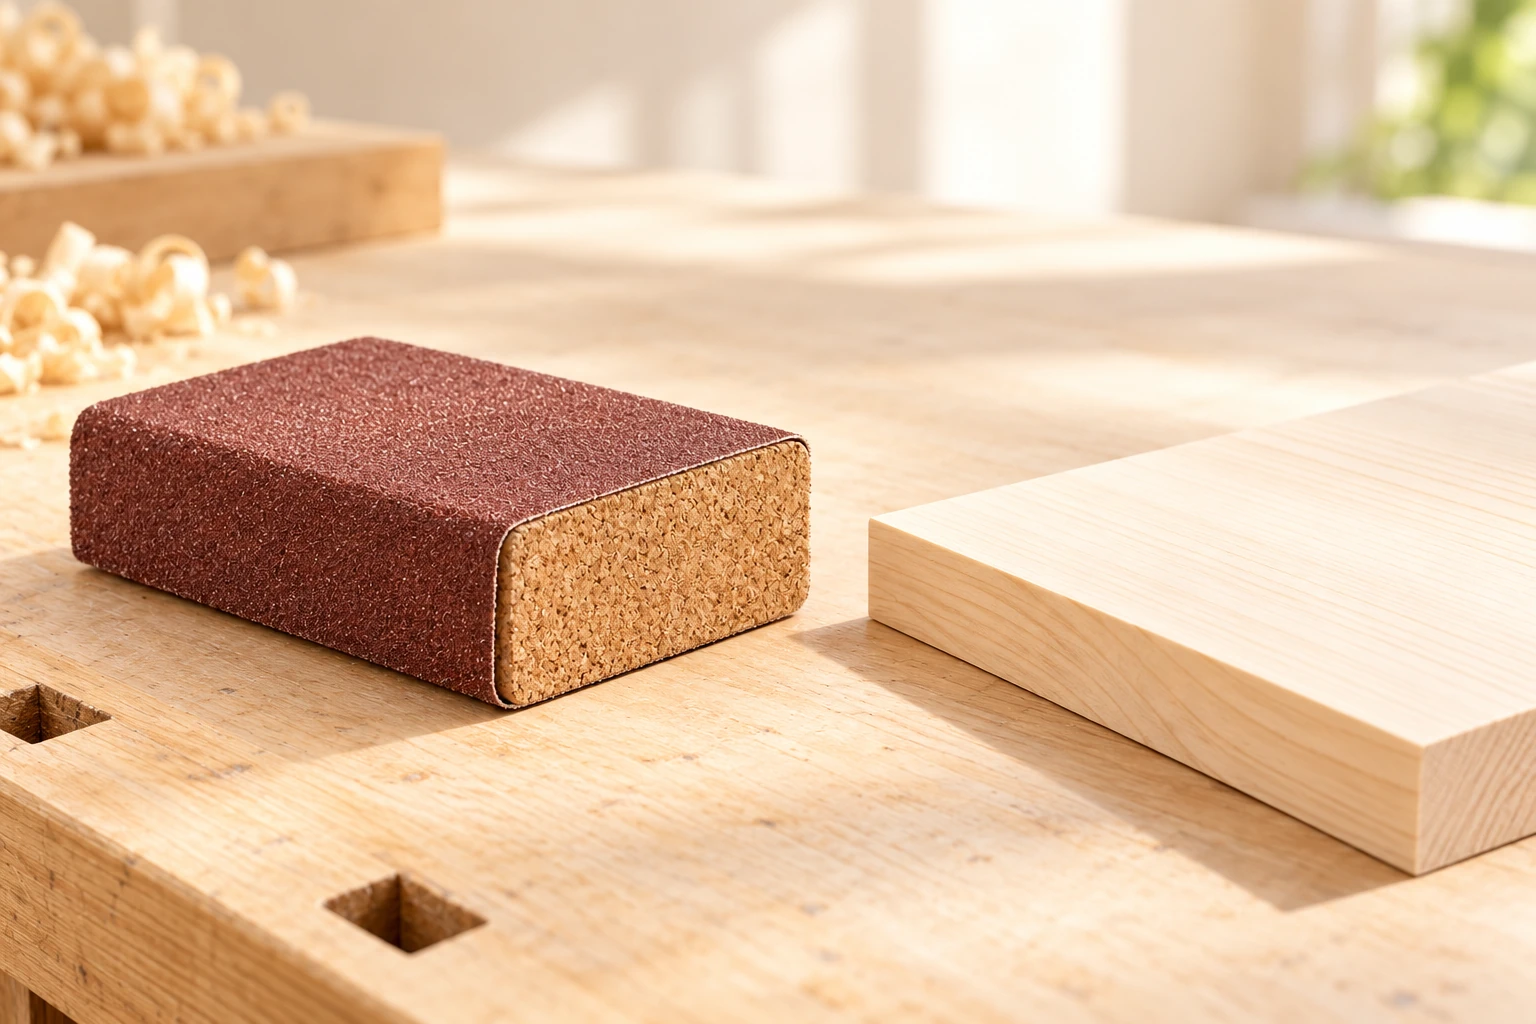
For a flat wooden face, choose a sanding block with a flat, firm working surface that you can keep fully supported. The grit determines how aggressively the abrasive cuts; the block helps you control where it cuts. A soft sponge that wraps comfortably around a moulding can also soften a corner you meant to keep square.
I would start with an inexpensive cork or firm flat block for a small bare-wood project. Spend more on extraction and a comfortable grip if you will sand often. Change the shape of the backing when the work becomes curved; buying a softer block does not solve every access problem.
Choose the backing before the abrasive
Norton's hand-sanding guide recommends a block for supporting the paper and describes rubber, cork and flat wood as options. A homemade block needs a clean, genuinely flat sole. A lump of dried glue underneath it becomes a pressure point.
| Surface or task | Starting choice | What to check |
|---|---|---|
| Flat board face | Firm, flat block | Paper lies smooth and the block sits without rocking. |
| Narrow straight edge | Small flat block you can control | Keep the sole aligned; do not tip onto the adjoining face. |
| Rounded moulding | Suitable shaped backing or conformable abrasive | It contacts the intended curve without flattening its high point. |
| Small enclosed area | Smaller block that fits the available stroke | It can move without striking a neighbouring finished surface. |
| Repeated hand sanding | Compatible extraction block | Abrasive attachment, hose connection and dust path match. |
For a concrete size reference, Mirka's 70 × 125 mm hand block is intended for small surfaces and restricted areas. Its grip attachment accepts compatible abrasives and it connects to extraction. That specification is useful when shopping: check the attachment and hose as well as the dimensions.
Shape is a separate specification. Mirka's shaped block kit uses different plates for flat, concave and convex surfaces. You do not need that particular kit, but the distinction matters. A flat sole cannot follow the inside of a curved recess evenly.
Set up a small practice piece
Gather a representative bare-wood offcut, your block, compatible abrasive, a pencil, a workholding method and a light you can aim across the surface. Follow the abrasive and finish instructions for the material. Arrange suitable dust collection and protection before starting. Unknown old coatings need identification before sanding.
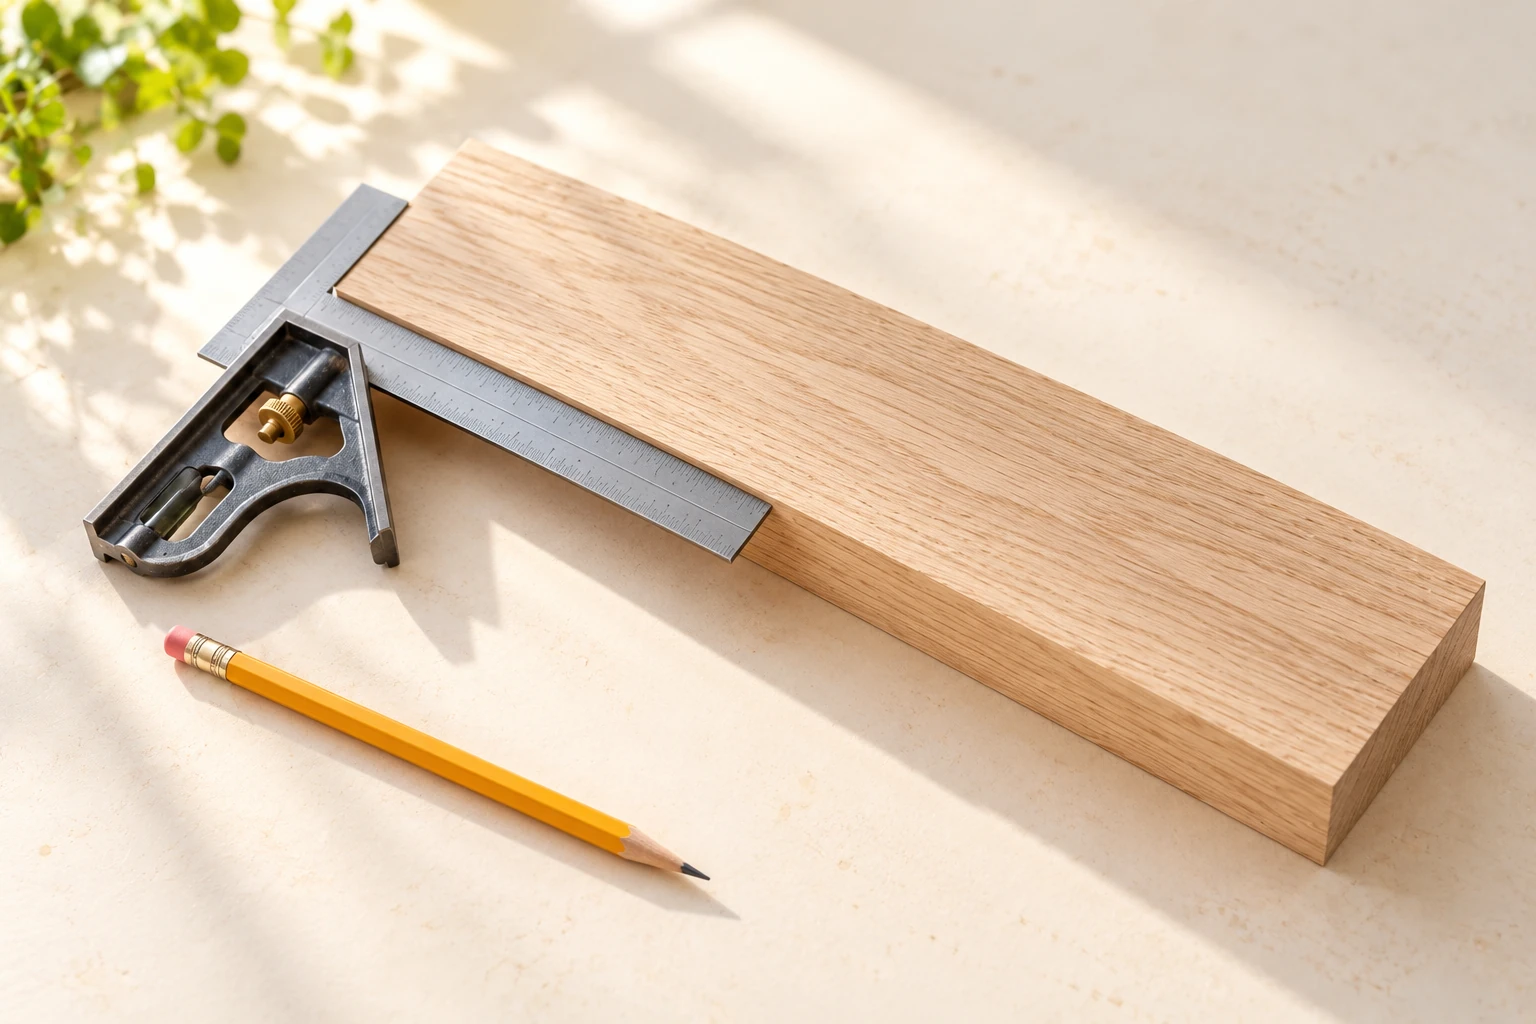
- Secure the offcut so it cannot slide. Keep the area you plan to sand clear of clamps and other obstructions.
- Inspect the block's sole and fit the paper smoothly. Keep seams or folded overlaps away from the working face. A loose flap can catch or fold under the block.
- Make a few very light pencil marks across the test area. They help you see coverage, but disappearing marks alone do not prove the board is flat.
- Use controlled strokes along the grain. Keep the block level and spread pressure across it. Let the abrasive work; pressing harder makes it harder to control the edge.
- Stop after a short set of passes. Remove loose dust appropriately and inspect under light directed across the face. Look for remaining scratches, uneven coverage and an accidentally softened corner.
- Adjust the grip, paper fit or block before proceeding to the project. Keep the accepted sample nearby as a reminder of the surface you want.
Check the face and the corner separately
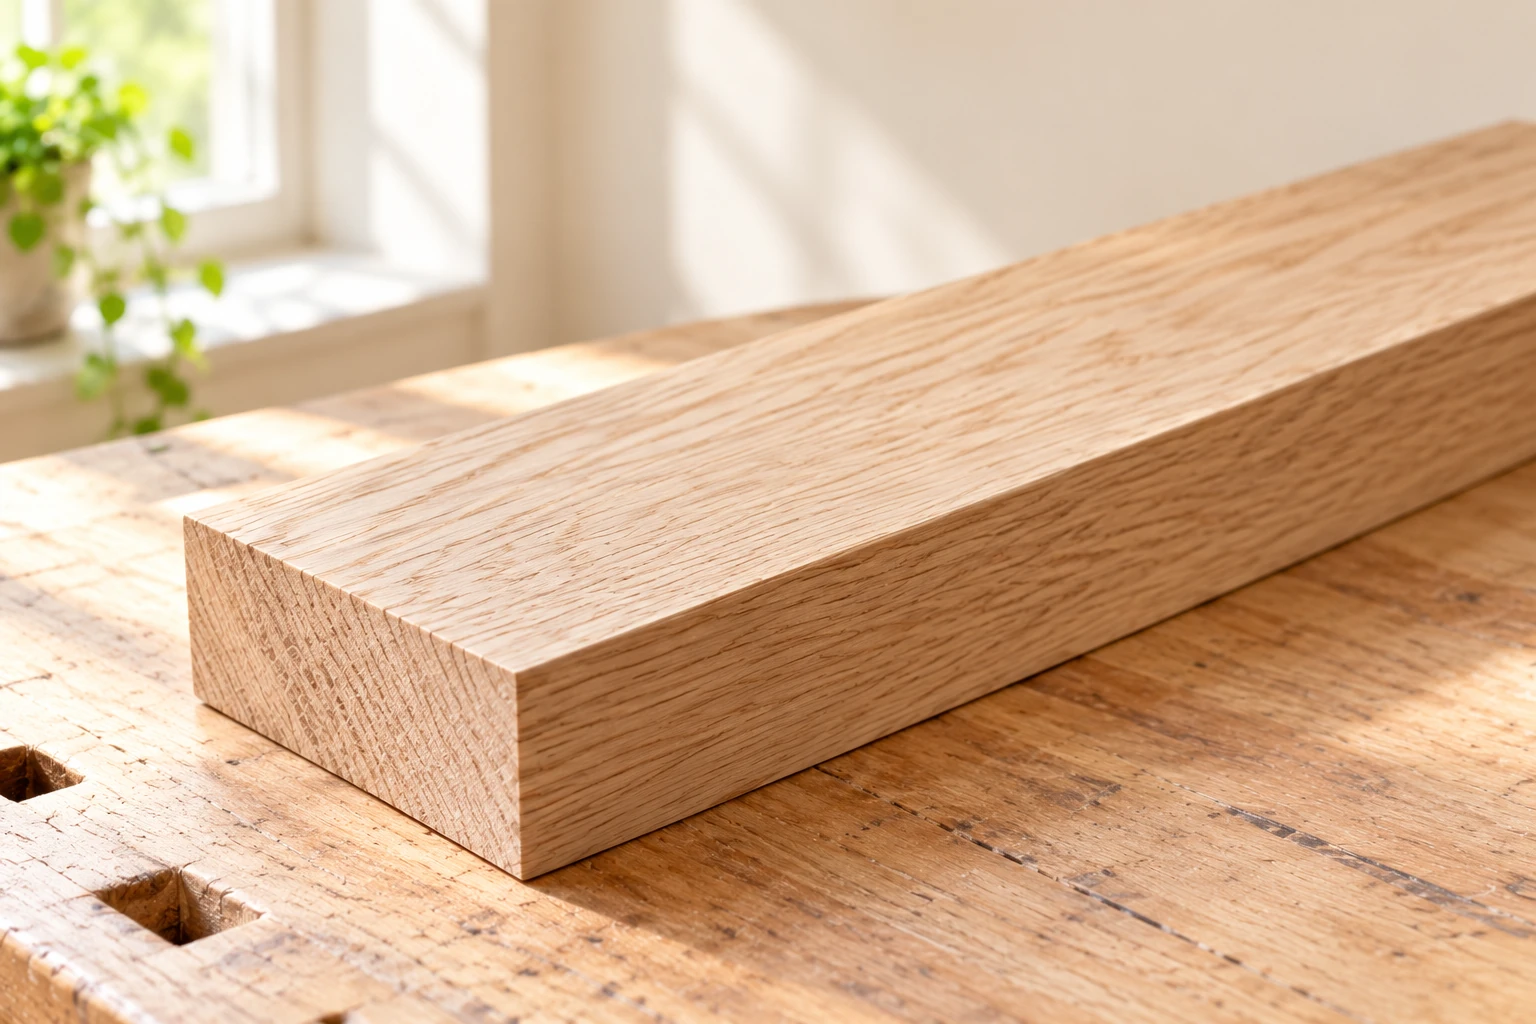
A smooth-feeling surface can still have scratches. Turn the piece under the light and inspect from more than one direction. If you need a measured flatness check, use an appropriate reference or straightedge; fingertips and pencil marks are only rough progress checks.
Watch what happens at the end of each stroke. When the block runs partly off the board, it becomes easier to tilt. Shorten the stroke or reposition the work so the sole stays controlled. Deliberately easing an edge is a separate operation with its own target shape.
Fix the cause before changing grit
If one narrow area is getting polished while scratches remain elsewhere, check for a tilted block, a wrinkle in the abrasive or debris underneath. If cutting slows, inspect the abrasive for loading and wear. Replace it as needed instead of compensating with force.
Once the backing and technique are working, use the sandpaper grit guide to plan the abrasive sequence for your wood and finish. For a curved recess, switch to the separate guide to sanding inside curves. The useful stopping point is an even scratch pattern at the required final grit, with the intended shape preserved.
Original editorial illustration.


Comments
Post a Comment