An independent woodworking journalMake something worth keeping.
Good wood.
Useful knowledge.
A little patience.
The Wood Journal

How Much Edge Banding Do You Need? Measuring and Trim Allowances

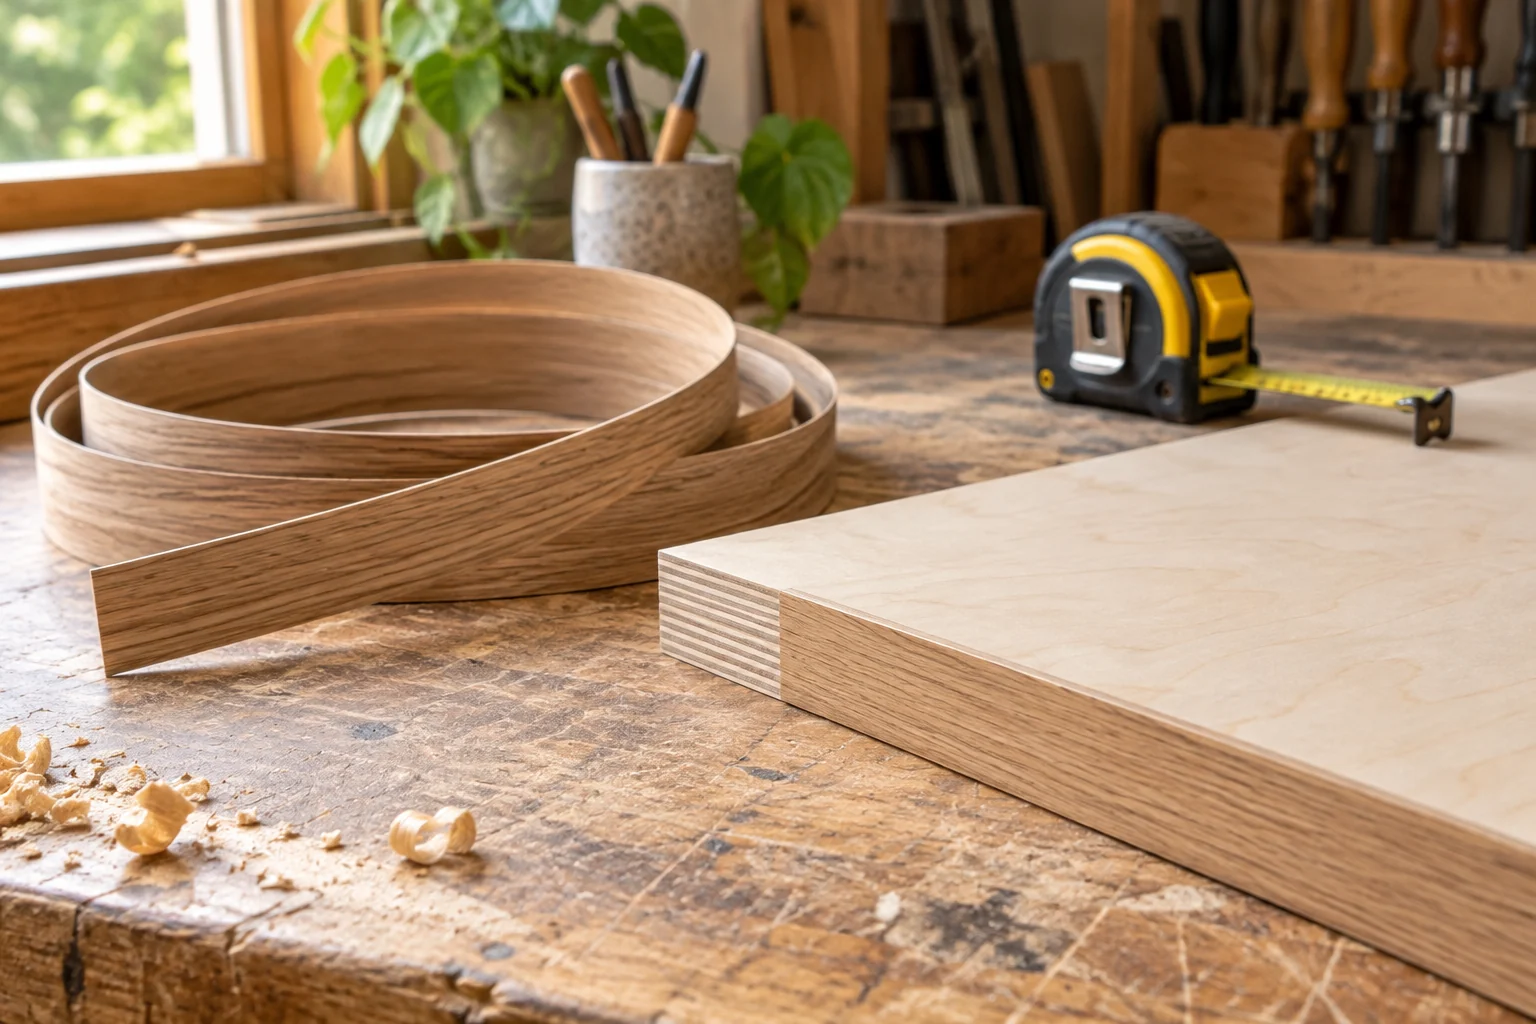
Illustration of oak veneer edge banding beside a plywood panel

Count the edges that need covering before ordering edge banding. A shelf with only its front visible needs one strip. A freestanding desktop may need four. Multiplying every panel perimeter by the number of panels can buy far too much banding when most edges are hidden in joints.

Draw each panel as a rectangle and mark only the exposed edges. Label them F, B, L and R for front, back, left and right. If a side panel is visible from one end of the cabinet, mark that condition on the drawing instead of assuming every repeated part is identical.
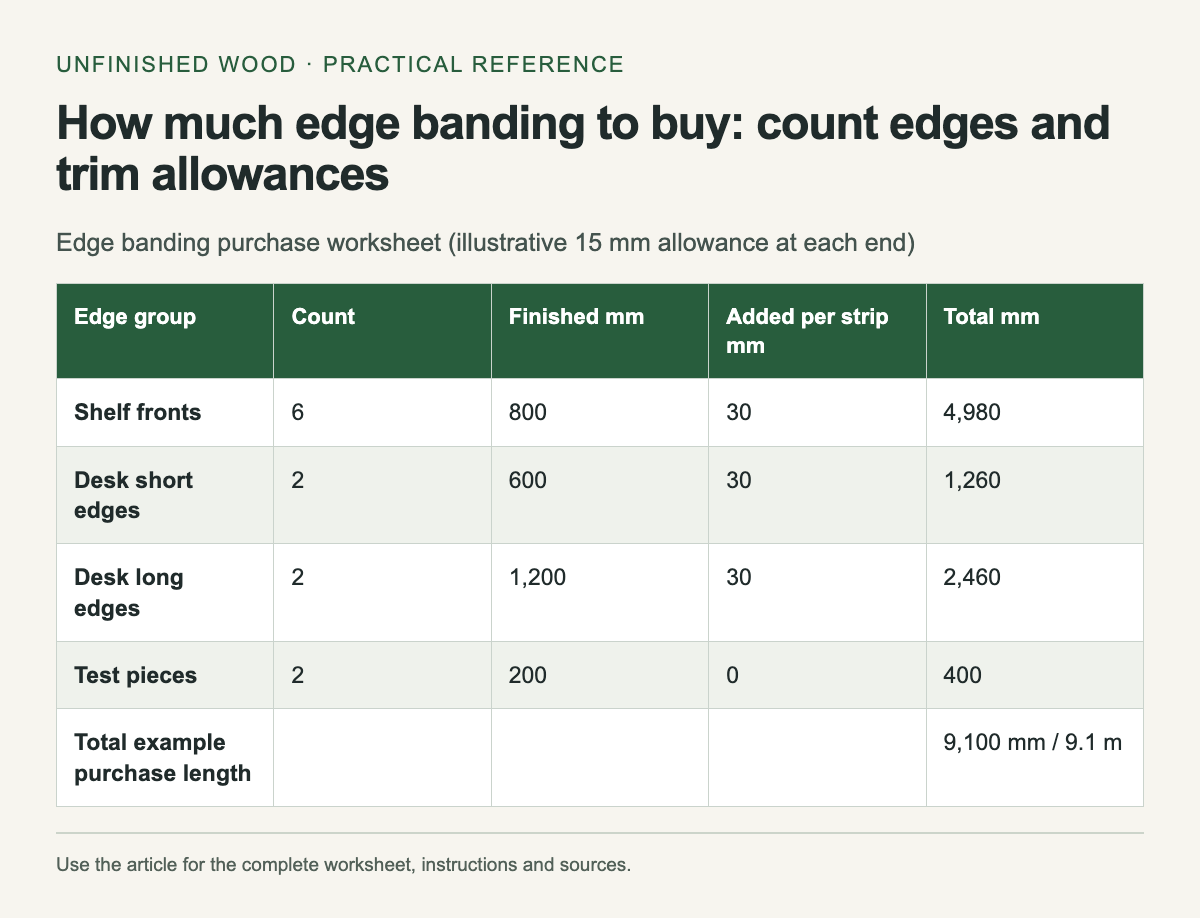
Edge banding purchase worksheet (illustrative 15 mm allowance at each end). The complete instructions and accessible tool follow in the article.
Reference graphic from this guide. The complete instructions and tool, where available, remain in the article.

Add allowance to each strip

The total finished length is the sum of all covered edges. Add a trimming allowance at both ends of every separate strip. A job with many short strips consumes more end allowance than one long strip with the same combined finished length.

For example, six shelf fronts at 800 mm need 4,800 mm of finished banding. An illustrative allowance of 15 mm at each end adds 30 mm per strip, or 180 mm total. The cutting requirement becomes 4,980 mm. Allow separately for test pieces and damaged sections of a roll; do not hide those in an unexplained percentage.

The allowance depends on your application and trimming method. Short parts may be awkward to handle, and some tools require extra support near an end. Read the banding and tool instructions before deciding how much overhang to leave. The table is a purchasing worksheet, not an installation temperature or pressure guide.

Match roll width to panel thickness

Measure the panel after preparation. Banding needs enough width to cover the edge with the trimming allowance required by your method. A roll labeled for a nominal panel size may not leave the overhang you expect on your particular stock.

Record both dimensions in their original units. For example, 7/8 inch is 22.225 mm. VeneerSupplies lists a pre-glued beech banding roll by width and length, which illustrates why both must be checked at purchase. Product widths, adhesive systems and instructions vary; one roll's directions do not cover all banding.

Plan the order at corners

Decide which strip runs through the corner and which meets it. On a simple panel, applying the short edges first and the long edges afterward may suit the desired appearance, but check how the exposed joint will look on your actual material. Draw the corner at full size and test the trimming sequence on an offcut.

Keep matching strips in order if color or grain changes are visible along the roll. Avoid assigning the last usable section to the most prominent edge without first checking its appearance. If several rolls are required, compare their color before applying a mixture across one furniture front.

Keep a small cutting record

Write the required strip length on a paper list and tick it after cutting. Set aside test lengths and label the remaining roll length when the job is done. A short strip can become a useful test piece for adhesive, trimming and finish compatibility.

Check the panel edge for gaps, dust and damage before committing the measured banding. The site's edge-banding repair guide covers bond problems; use it if an existing strip is lifting. A quantity estimate will not correct a poorly prepared edge or an adhesive that is unsuitable for the material.

Choose between veneer banding, solid lipping and exposed plywood layers before ordering; the edge treatment determines which lengths belong on this list.

Edge banding purchase worksheet (illustrative 15 mm allowance at each end)
Edge groupCountFinished mmAdded per strip mmTotal mm
Shelf fronts6800304,980
Desk short edges2600301,260
Desk long edges21,200302,460
Test pieces22000400
Total example purchase length9,100 mm / 9.1 m

Related workshop guides

Sources

Owen Mercer
Tools & workshop practice

Owen Mercer

Workshop notes on hand tools, joinery, jigs and the small habits that make a project easier.

Comments

Popular posts from this blog

Lumber Grades At A Glance

Illustrative AI-generated image. Domestic hardwood lumber found at sawmills meets different quality levels or grades as specified by the National Hardwood Lumber Association (NHLA). The basis for this wood grading is the number and size of defect-free clear cuttings in a board, as summarized below, Thickness is not a consideration, though with some species worm holes, gum pockets, and stain are acceptable. FAS (First & Seconds) lumber grade. This premium grade represents the finest lumber yield in a log. Generally, the minimum size board is 6" wide by 8' long which yields a minimum of 83 1/3% clear cuttings on its poorest face. F1F (FAS One Face) lumber grade. The best face grades as clear FAS; the worst, as #1 common, containing some knots. Selects lumber grade. Close to a FAS board. A Select board must be a minimum of 4" wide and 6' long and yield a minimum of 83 1/3% clear cuttings, but only on one face with #1 common on the worst face. #...

How to buy Sawmill Hardwood and Save (Part 1)

Illustrative AI-generated image. When you visit a home center to purchase hardwood lumber, more than likely you'll encounter limited quantities, limited species, and through-the-roof pricing. In some cases, you're paying for that shiny cellophane wrapper. Before you sell your tools and steer toward a different hobby, you need to check out the benefits of shopping at a lumber sawmill. While some mills service only the commercial building industry. make pallets, or ship woods overseas, many gladly sell to the local woodworker. Here is where you'll find great variety and huge savings. If the special lingo and ways in which sawmills sell hardwood have kept you at bay, let us help you shop like a pro. First things first: finding a sawmill. While your local yellow pages will yield results when you look under "Sawmills” or “Lumber-Retail," members of 10 cal woodworking clubs, woodworking friends, or woodworking specialty stores may serve as better sources for locati...

4-Step Antique Finish

Create a fool-the-eye timeworn look. Some projects, like wine server for your wood cabinet, are not unlike a pair of blue jeans, Both look better after a few years of regular use. To create that well-worn look wood finish, I have come up with a finishing schedule that can add a century's worth of character in less time than it would take to stonewash a new pair of Levis. At first glance, this four-step finish might appear demanding, bur keep reading. As you'll soon learn, this special finish amounts to little more than a combination of a few basic techniques you've probably used before. The “pickling" and - “highlighting” I use aren't much different than whitewashing a fence. Simply brush on the color and then wipe some off until it looks good to you. And after each step you'll apply a quick-drying seal coat to save your work. Besides providing an additional decorative element to your work, antiquing has some practical advantages. Adding color to t...

It starts with
a piece of wood.

Unfinished Wood is a collection of practical ideas for the workshop: choosing your materials, solving small problems, and bringing out the character in what you make.

The journal voices

Owen Mercer
Tools & workshop practice

Owen Mercer

Workshop notes on hand tools, joinery, jigs and the small habits that make a project easier.

Ben Harlow
Wood & materials

Ben Harlow

Practical guides to choosing lumber, understanding grain and planning for wood movement.

Daniel Reed
Surface & finish

Daniel Reed

Notes on sanding, test samples, color and finishes that let the character of the wood show through.

Search This Blog