
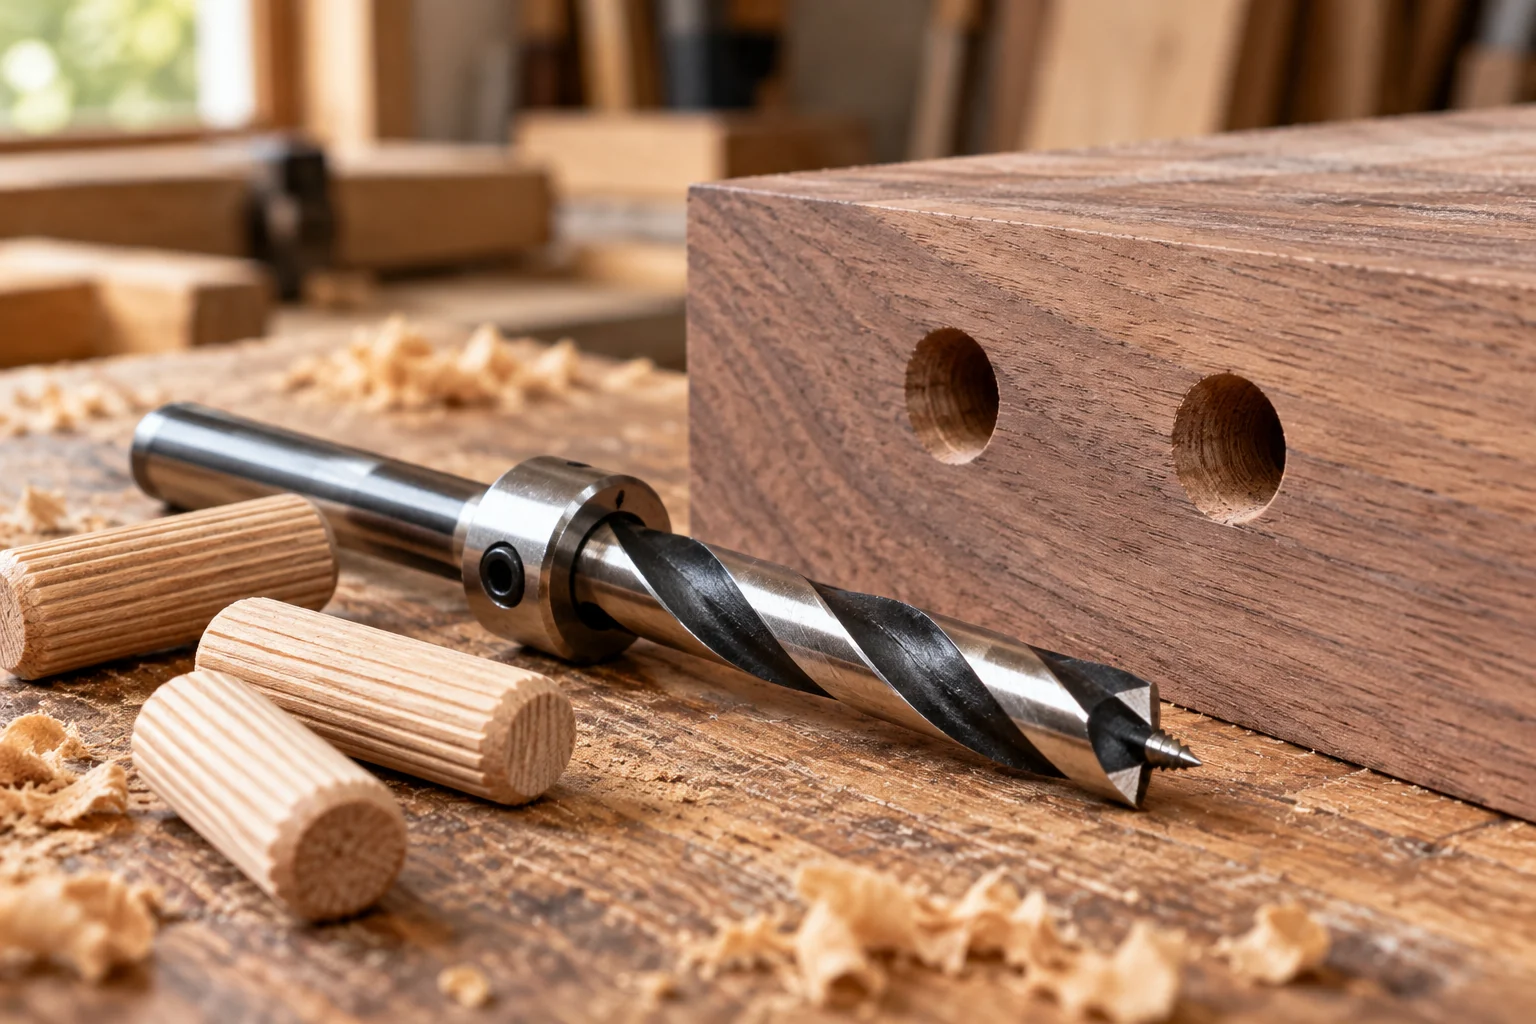
A blind hole needs enough usable depth for the part it receives while leaving sound material on the far side. Those requirements refer to different places on the bit. A brad-point or Forstner-style bit can project beyond the depth of the main hole bottom, so measuring only the cylindrical socket can underestimate the deepest cut.
Draw the cross-section before setting a stop. Mark the material thickness, required usable hole depth and the bit's point projection. Add any margin required by the design or hardware. If the numbers leave too little material, change the design or specified hardware instead of hoping the point will stop short.
Calculate the deepest reach
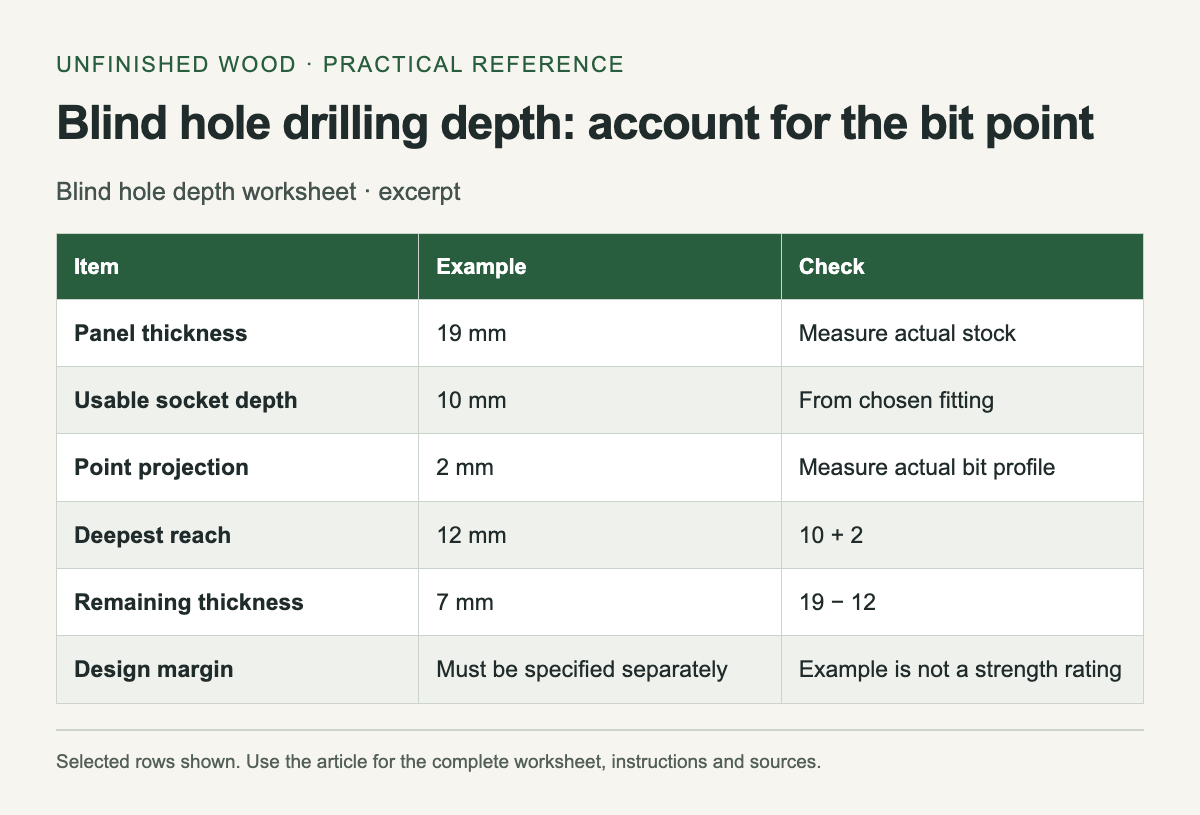
For a simple planning model, deepest reach equals usable socket depth plus point projection beyond that socket. Remaining thickness equals the workpiece thickness minus deepest reach. This is a geometric estimate; your actual bit profile and setup determine the cut.
For example, a 19 mm panel, a required 10 mm usable hole and an observed 2 mm center-point projection leave 7 mm beneath the deepest point. In a 12 mm panel, those same values leave zero. The example does not establish a safe minimum remaining thickness for any joint or fitting.
Measure the actual hardware and read its installation instructions. A dowel, shelf pin or hinge cup may have different seating and clearance requirements. Do not add arbitrary bottom clearance to a product that specifies a particular drilling depth without checking the manufacturer’s guidance.
Establish the machine's reference
Depth stops may reference spindle travel, a drill collar contacting a jig, or a guide base. Read the instructions for your tool and accessory. The setting only makes sense when the reference surface is understood.
A shelf-pin guide such as Kreg's documented 5 mm jig uses a supplied bit and depth collar. The guide thickness is part of that arrangement. Copying the same exposed bit length to another jig changes the hole depth.
Disconnect power before adjusting the bit, stop or workholding. Secure the work as directed by the machine manual. Clear chips using the appropriate operating procedure, and never hold a small loose part by hand beneath a drill press bit. The stop controls travel; it does not secure the workpiece.
Make a sacrificial test
Use scrap of the same thickness and material. Drill with the actual jig, bit and stop settings. Inspect the reverse face, measure the usable socket and try the hardware without forcing it. If necessary, cut the test piece through the hole afterward using an appropriate safe setup so the deepest point is visible in section.
Keep the tested scrap beside the machine with the part and setup labels on it. Recheck after a bit change, collar adjustment or movement of the supporting surface. A stop that slipped during the first test should be corrected before any finished parts are drilled.
Transfer the setup to the project
Mark which face receives the holes and which face must remain clean. Verify panel thickness at the actual drilling locations, particularly if the stock was flattened unevenly. Check every first hole after a setup change before drilling a whole batch.
If the required socket and point cannot fit within the panel, stop. A different fitting, thicker material or redesigned joint may solve the problem. Sanding a puncture or filling a breakthrough does not restore the original thickness beneath the hardware.
Identify whether the hole is a pilot hole, clearance hole or countersink before choosing its diameter and planning its depth.
| Item | Example | Check |
|---|---|---|
| Panel thickness | 19 mm | Measure actual stock |
| Usable socket depth | 10 mm | From chosen fitting |
| Point projection | 2 mm | Measure actual bit profile |
| Deepest reach | 12 mm | 10 + 2 |
| Remaining thickness | 7 mm | 19 − 12 |
| Design margin | Must be specified separately | Example is not a strength rating |
| Test result | Record socket and reverse face | Use actual tool and jig |
Related workshop guides
- Pilot hole, clearance hole, countersink: three jobs, not one
- Align dowel holes without measuring the same joint twice
Sources


Comments
Post a Comment