
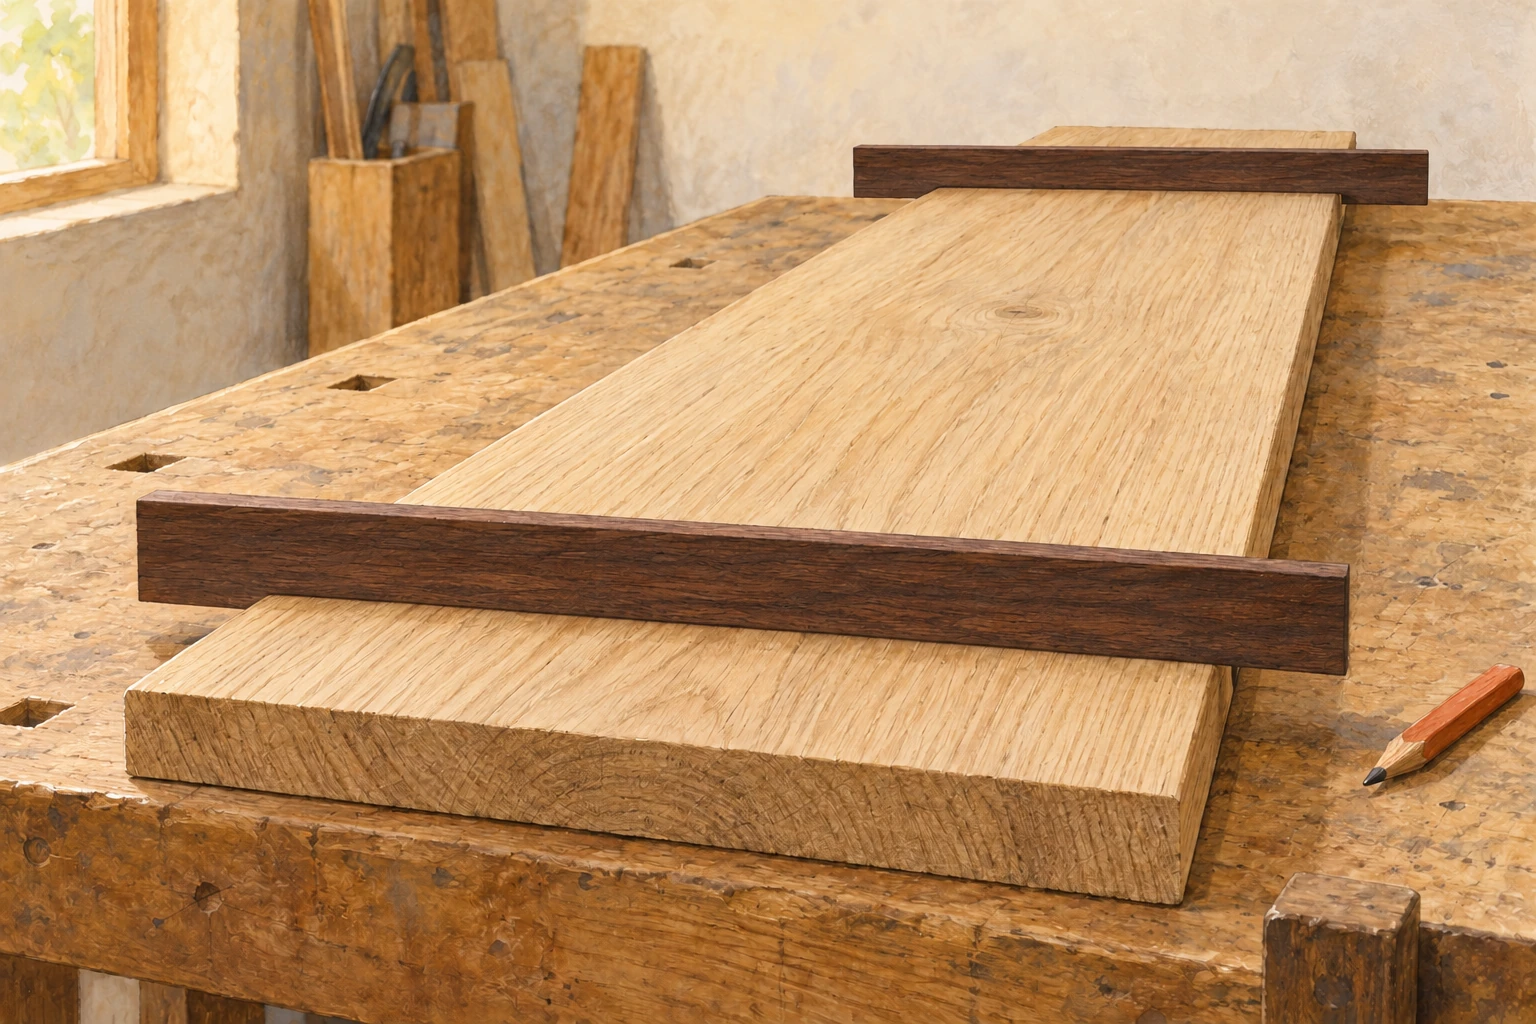
Winding sticks make twist in a board easier to see. Place one across each end, lower your eye to their top edges and compare the slopes. If those edges do not line up parallel, check the setup before deciding where to remove wood. This is a useful inspection before you start flattening a face or choose a reference surface for joinery.
The method in Lee Valley’s winding-stick instructions is to set the sticks square across the board, sight along their upper edges, mark the areas needing work and repeat at different positions. The checklist below helps you separate a repeatable reading from a misplaced stick.
Prepare a reading you can repeat
- Brush loose shavings away from the two contact areas and the bottoms of the sticks. Support the board so it stays still while you look. If you press a corner down each time you take a reading, you are changing the setup. Keep your hands off the surface while comparing the edges.
- The sticks need stable contact. Highland Woodworking’s instructions warn that a crowned surface makes a poor seat and that placing the sticks askew can suggest twist that is not there. Set each stick across the board at a right angle to its length. Follow your particular pair’s instructions for which faces should point toward you.
- Move your eye back and low enough to compare both top edges. Choose a background that makes their contrast easy to read. Before marking anything, lift and replace the sticks in the same positions. A reading that changes deserves another setup check.
What the winding-stick reading tells you
| What you see | What to check | Practical next step |
|---|---|---|
| The top edges look parallel | The two positions agree in this comparison. | Move one stick inward and compare another section. |
| One end of the far edge rises above the near edge | Recheck square placement and stable contact. | If the reading repeats, record the orientation and mark the board. |
| The reading changes when you touch a stick | Look for debris, rocking or an uneven contact area. | Fix the seating and take another reading before cutting. |
| The ends agree but a middle position differs | You have compared a different pair of cross-sections. | Map several positions instead of treating the whole face as checked. |
| The edges are difficult to distinguish | Check the background, viewing height and contrasting faces. | Improve visibility before trying to estimate a small difference. |
Keep a small record of the board
Mark the inspected face and give the ends simple names, such as A and B. Sketch a rectangle on scrap paper and note where each stick sat. For example, record “A end to centre” beside one reading and “centre to B end” beside the next. These are example labels, not prescribed measuring positions.
This takes little space in a project notebook and prevents an easy mistake: turning the board around, then removing material from the corner you remember as being on the right. Our woodworking part-label system can help you carry the same face and end references into the cut list.
Use the reading with other checks
Winding sticks compare the tilt of the sections beneath them. They do not, by themselves, prove that the entire face is flat, that both faces are parallel, or that the board has enough thickness for your part. Check along and across the face with a suitable straightedge as well. Keep the required finished thickness beside your inspection notes so that flattening remains tied to the part you need.
If you intend to work the surface with a hand plane, first review how to read the grain before the first pass. Recheck the winding sticks between small corrections rather than relying on the original marks for the whole job.
A visible gap is not automatically a cutting depth
Some commercial sticks have graduations. Lee Valley’s instructions explain that a reading taken across their full stick length must be scaled to the board’s width. A plain pair gives you no such scale. Do not turn the apparent wedge into a millimetre estimate by eye.
For a first inspection, record whether the edges agree and where a repeatable difference appears. If you need an actual measurement, use the measuring method supplied with your tools and record the board width and stick spacing with it. Keep that measurement separate from your decision about how much material the finished part can afford to lose.
Original editorial illustration.


Comments
Post a Comment