An independent woodworking journalMake something worth keeping.
Unfinished Wood.
Good wood.
Useful knowledge.
A little patience.
The Wood Journal

Apply Shellac to a Small Furniture Project Without Chasing Every Brush Mark

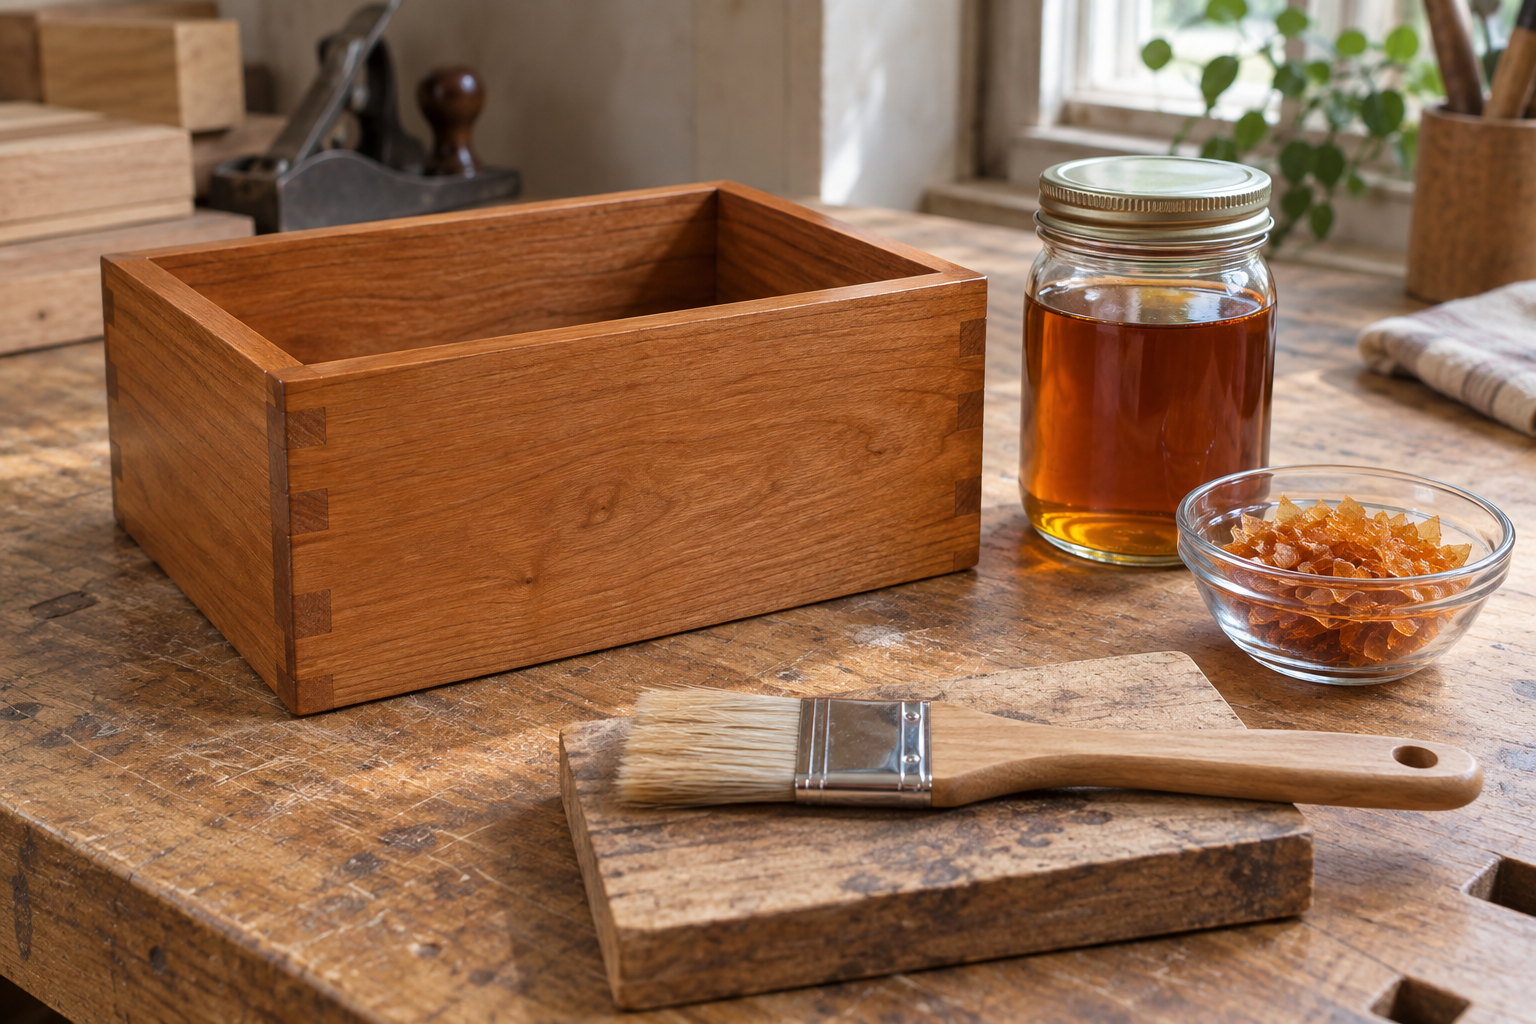
A small box or cabinet part is a manageable place to learn shellac application. Prepare the surface, organize the work and make a sample before beginning the visible part. Trying to repair every brush mark while the finish is setting can create more marks than it removes.

Identify what is in the container

Check whether the product is waxed or dewaxed and whether it is intended as a finish or as a sealer under another coating. Do not assume all shellac products have the same topcoat compatibility. Follow the exact product's preparation and thinning instructions.

Before coatingWhy it helps
Test on an offcutConfirms color and handling
Remove dustReduces debris trapped in the film
Arrange a safe supportAvoids handling freshly coated faces
Choose the recommended applicatorMakes the coat easier to control
Read recoat and cleanup instructionsPrevents improvisation mid-job

Coat one manageable surface

Work with the grain in controlled passes and maintain a wet edge where practical. Avoid flooding corners or leaving a heavy bead at the lower edge. Once an area starts setting, leave it alone rather than repeatedly brushing back into it.

Let the coat dry as directed. Examine it in raking light. If the instructions allow intercoat smoothing, use a light touch and remove the dust before recoating. The goal is to level small defects, not sand through the edges.

Diagnose before adding more finish

A ridge at an overlap suggests an application problem; debris suggests preparation or shop contamination. A persistent tacky film may involve product condition or unsuitable conditions. More coats do not automatically solve any of these.

Make changes on the sample first. Keep the product container closed between uses and follow its storage guidance. Use the ventilation and ignition precautions specified for the solvent system.

Match the finished piece to its use

Shellac is not a universal answer for outdoor exposure, standing water or every cleaning chemical. For a tabletop, serving item or a surface that will receive another coating, confirm the entire finishing system suits that service.

Save the sample and record the product, number of coats and preparation. A repeatable modest finish is more useful than an attractive result you cannot reproduce on the matching part.

Related workshop guides

References and further reading

AI-generated portrait of Owen Mercer
Tools & workshop practice

Owen Mercer

Workshop notes on hand tools, joinery, jigs and the small habits that make a project easier.

Comments

Popular posts from this blog

Lumber Grades At A Glance

Illustrative AI-generated image. Domestic hardwood lumber found at sawmills meets different quality levels or grades as specified by the National Hardwood Lumber Association (NHLA). The basis for this wood grading is the number and size of defect-free clear cuttings in a board, as summarized below, Thickness is not a consideration, though with some species worm holes, gum pockets, and stain are acceptable. FAS (First & Seconds) lumber grade. This premium grade represents the finest lumber yield in a log. Generally, the minimum size board is 6" wide by 8' long which yields a minimum of 83 1/3% clear cuttings on its poorest face. F1F (FAS One Face) lumber grade. The best face grades as clear FAS; the worst, as #1 common, containing some knots. Selects lumber grade. Close to a FAS board. A Select board must be a minimum of 4" wide and 6' long and yield a minimum of 83 1/3% clear cuttings, but only on one face with #1 common on the worst face. #...

4-Step Antique Finish

Create a fool-the-eye timeworn look. Some projects, like wine server for your wood cabinet, are not unlike a pair of blue jeans, Both look better after a few years of regular use. To create that well-worn look wood finish, I have come up with a finishing schedule that can add a century's worth of character in less time than it would take to stonewash a new pair of Levis. At first glance, this four-step finish might appear demanding, bur keep reading. As you'll soon learn, this special finish amounts to little more than a combination of a few basic techniques you've probably used before. The “pickling" and - “highlighting” I use aren't much different than whitewashing a fence. Simply brush on the color and then wipe some off until it looks good to you. And after each step you'll apply a quick-drying seal coat to save your work. Besides providing an additional decorative element to your work, antiquing has some practical advantages. Adding color to t...

How to buy Sawmill Hardwood and Save (Part 1)

Illustrative AI-generated image. When you visit a home center to purchase hardwood lumber, more than likely you'll encounter limited quantities, limited species, and through-the-roof pricing. In some cases, you're paying for that shiny cellophane wrapper. Before you sell your tools and steer toward a different hobby, you need to check out the benefits of shopping at a lumber sawmill. While some mills service only the commercial building industry. make pallets, or ship woods overseas, many gladly sell to the local woodworker. Here is where you'll find great variety and huge savings. If the special lingo and ways in which sawmills sell hardwood have kept you at bay, let us help you shop like a pro. First things first: finding a sawmill. While your local yellow pages will yield results when you look under "Sawmills” or “Lumber-Retail," members of 10 cal woodworking clubs, woodworking friends, or woodworking specialty stores may serve as better sources for locati...

It starts with
a piece of wood.

Unfinished Wood is a collection of practical ideas for the workshop: choosing your materials, solving small problems, and bringing out the character in what you make.

The journal voices

AI-generated portrait of Owen Mercer
Tools & workshop practice

Owen Mercer

Workshop notes on hand tools, joinery, jigs and the small habits that make a project easier.

AI-generated portrait of Ben Harlow
Wood & materials

Ben Harlow

Practical guides to choosing lumber, understanding grain and planning for wood movement.

AI-generated portrait of Daniel Reed
Surface & finish

Daniel Reed

Notes on sanding, test samples, color and finishes that let the character of the wood show through.

Search This Blog