
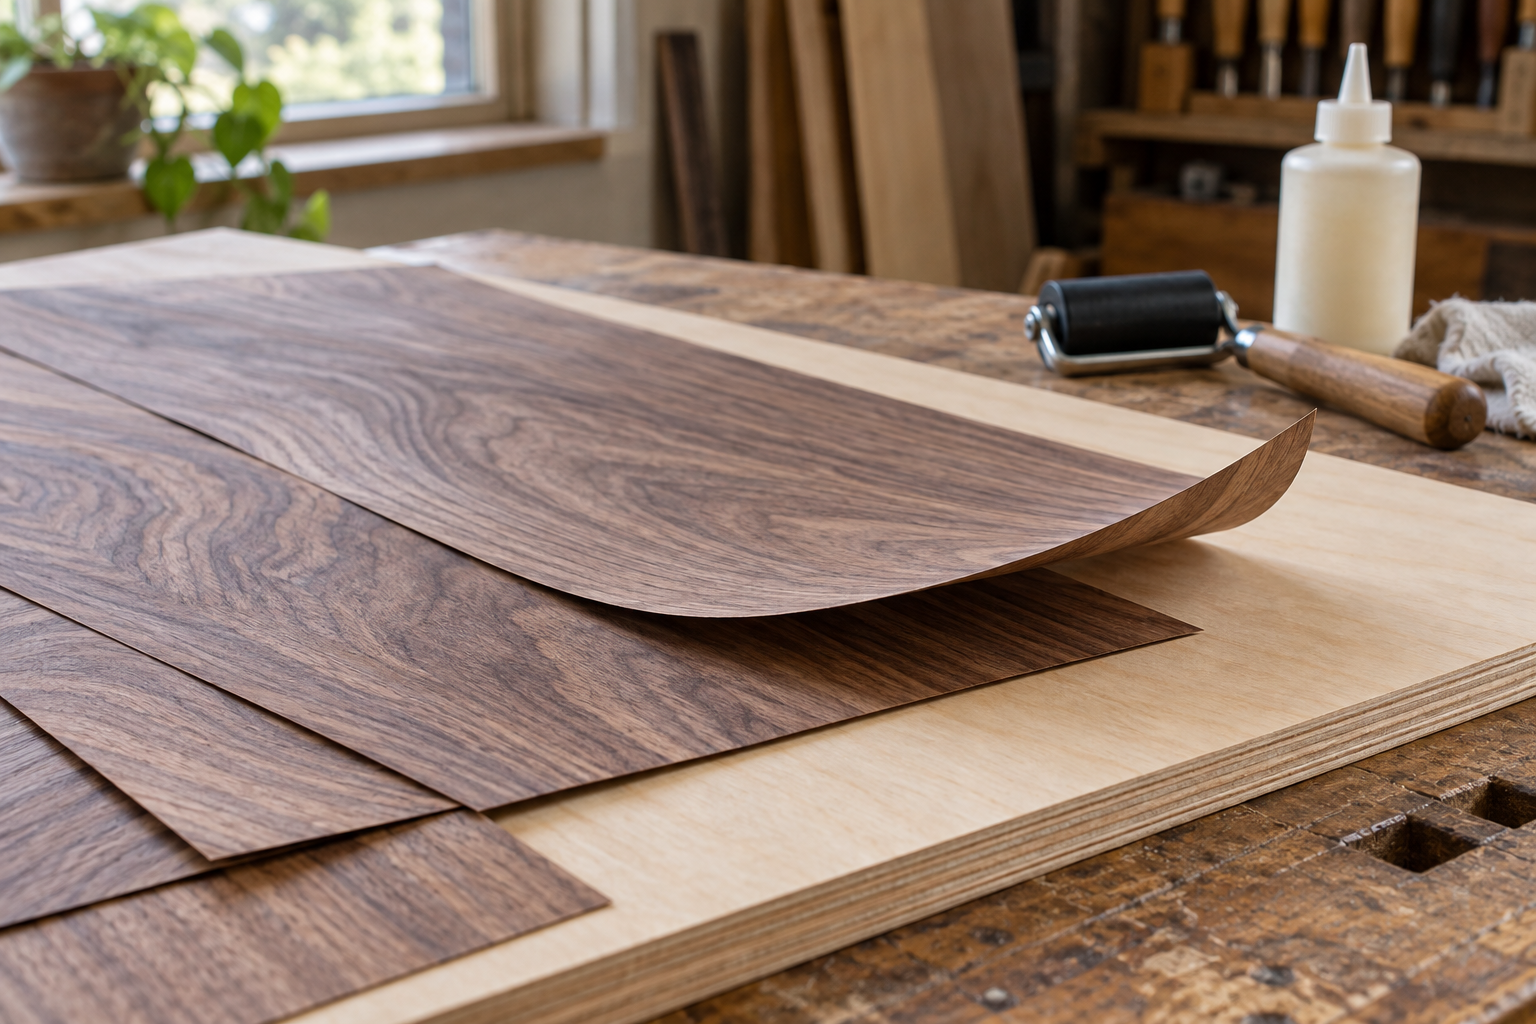
“Veneer” describes a thin wood surface, but the backing changes how you handle and bond it. Identify the product before choosing an adhesive or rolling it onto a panel. Instructions for raw veneer do not automatically apply to a backed sheet.
Compare the forms
| Veneer form | What to establish before buying |
|---|---|
| Raw wood veneer | Thickness, jointing method and required pressing system |
| Paper-backed veneer | Approved substrates, adhesive and application method |
| Wood-backed veneer | Flexibility, overall thickness and edge treatment |
| Peel-and-stick product | Substrate preparation, pressure and service limitations |
| Edge-banding strip | Activation method and trimming allowance |
A backed product may be easier to handle, but it still needs a suitable, flat substrate. Veneer will not turn a warped panel into a flat door.
Choose the substrate and balance the panel
Check the supplier's recommendations for the panel core and whether a balancing veneer or backing treatment is required on the opposite face. A decorative layer on only one side can change moisture response and panel behavior.
Do not assume an old painted surface is an acceptable bonding surface. Adhesive compatibility, cleanliness and surface strength all matter. A bond to loose paint is only as secure as that paint.
Rehearse the pressing operation
Cut the veneer with an appropriate allowance, mark alignment and prepare the pressure system before opening the adhesive. Follow its spread, working-time and pressing requirements. For a large panel, do not improvise a few clamps at the edges and assume the center receives equal pressure.
Make a small sample using the same veneer, core and adhesive. Include an edge so you can practice trimming without tearing away the face. Keep the cutting tool supported and the direction of the grain in mind.
Preserve the surface you paid for
Veneer thickness leaves little room for aggressive sanding. Remove adhesive contamination using the product's approved method, and level only as necessary. Do not try to flatten a lumpy substrate by sanding through the veneer above it.
Decide how the edges will finish before bonding the face: exposed plywood, a solid lipping or edge banding creates a different sequence. The cleanest edge is usually planned in the construction, not invented after a fragile veneer corner has broken off.
Related workshop guides
- Sanding veneer: the warning signs that mean stop
- Plywood edges: veneer banding, solid lipping or exposed layers?


Comments
Post a Comment