
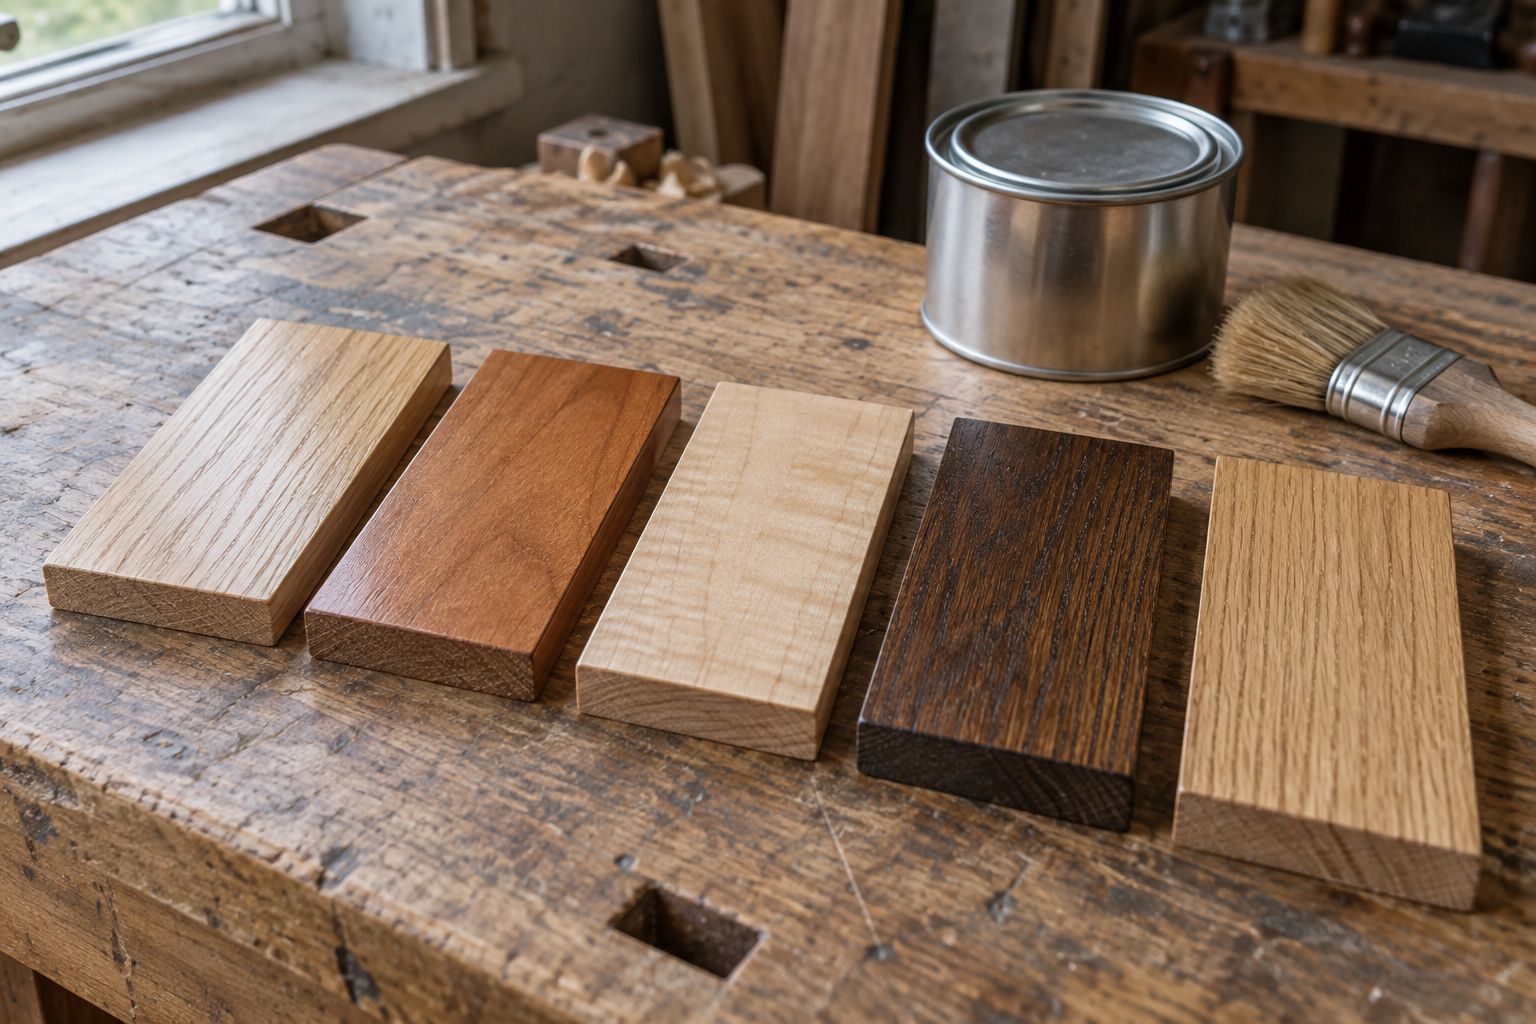
A transparent brown stain does not erase the starting color of poplar. If one area begins pale and another begins green or gray, both remain part of the final color. The useful question is whether you can accept and control that variation on the actual piece.
Start with a sample from the same board
Use an offcut that includes both light and dark regions. Prepare it with the same sanding sequence as the project. Divide it into labeled test areas, leaving one untouched for comparison. Record the product, preparation, application and wiping method on the back.
| Test | What it can tell you | What it cannot prove |
|---|---|---|
| Clear finish only | Whether natural variation is acceptable | That stain will become even |
| Stain on bare prepared wood | How the stock absorbs the chosen color | How a different board will behave |
| Compatible conditioner plus stain | Whether absorption becomes more uniform | That green and pale wood become the same color |
| Compatible toner or opaque finish | Whether a more covering system suits the goal | That grain will remain equally visible |
Judge the whole finishing system
Let the stain dry for the period required by its manufacturer. Apply the intended clear coat to part of the sample. Compare it in the room where the furniture will live; a sample under warm workshop lighting can look quite different beside a window.
If the light area looks good but the green area looks muddy, adding another blanket coat may simply darken both. Consider rearranging visible parts, accepting the variation or choosing a more opaque finish. More pigment is not automatically more control.
Keep the production method consistent
Prepare matching parts together. Maintain the same sanding endpoint and wiping procedure. Avoid leaving glue residue near joints; a sealed glue patch and a naturally green area are different problems and need different corrections.
Do not use a photograph of someone else's sample as a formula. Board color, products, lighting and camera processing all affect the result. Keep your approved sample until the project is complete, and record what you did so a replacement part can be approached systematically.
If the requirement is a uniform walnut-like appearance, decide early whether poplar plus that finish is the right route. A sample that fails the color goal has saved you a much larger refinishing job.
Related workshop guides
- Before you stain pine or maple: test for blotching
- Pale glue spots after staining: remove the barrier before recoloring


Comments
Post a Comment