
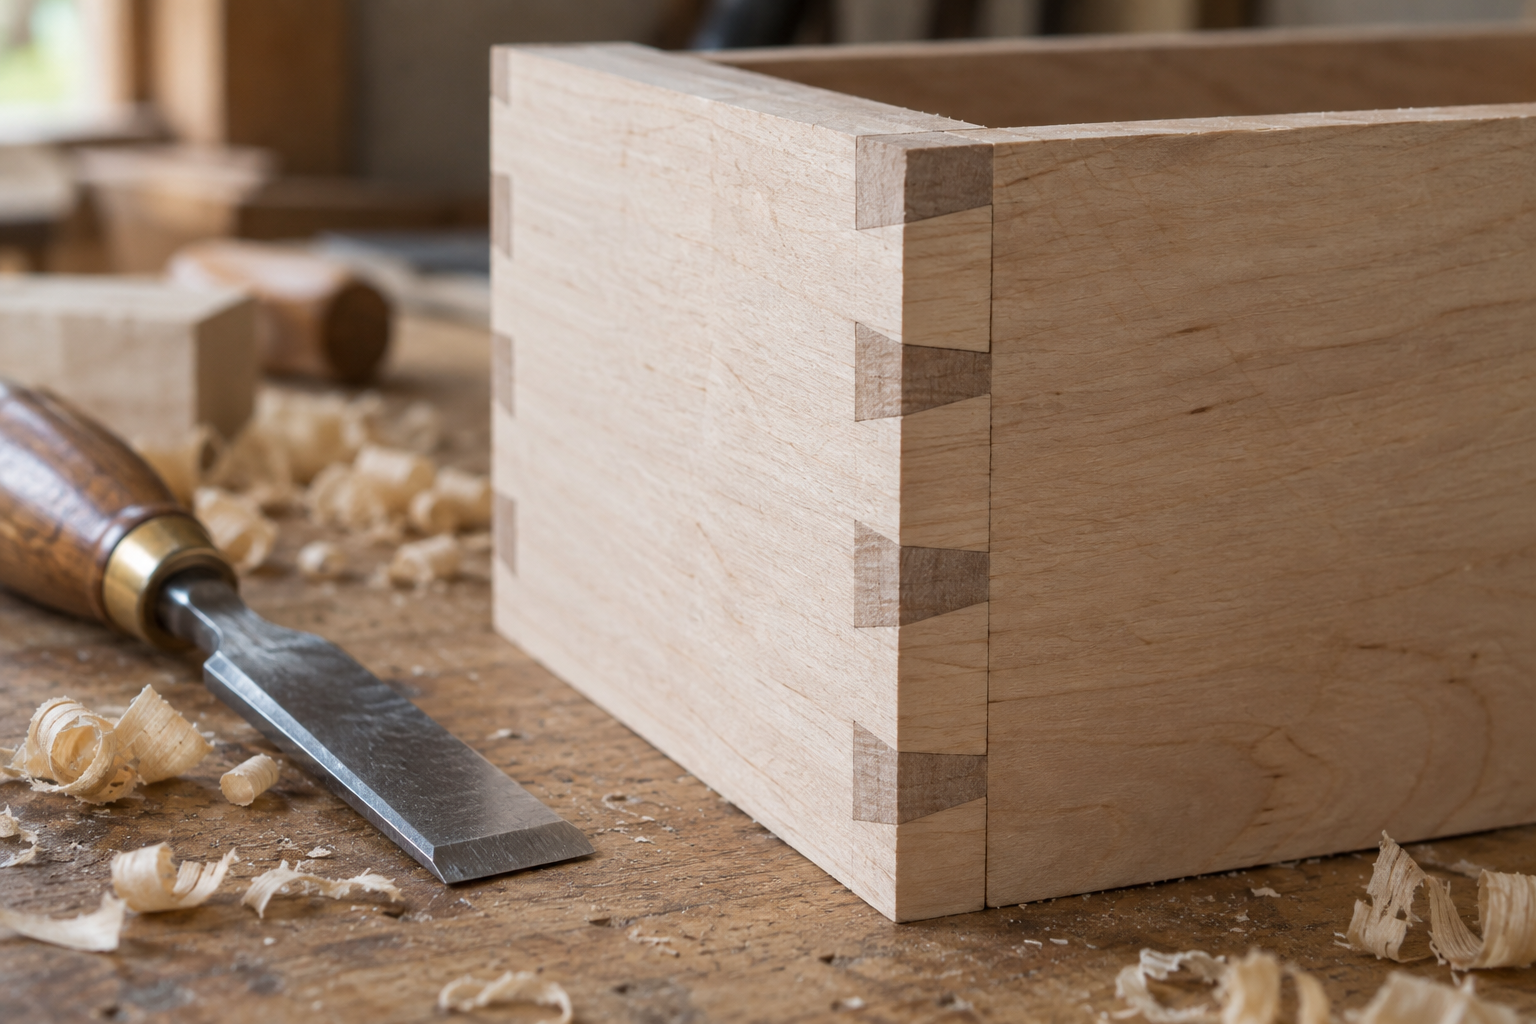
A box joint should close with steady hand pressure during a dry fit. If it needs hard mallet blows before glue is added, the fit is too tight or the joint contains a local obstruction. Driving it home can split a finger and disguise the real problem.
Test with the project stock
Use two offcuts of the same thickness and species as the box. Label their inside faces and top edges. Cut a complete test corner using the exact setup planned for the final parts. A single finger tells you little about cumulative spacing error.
| Symptom | Check first | Correction |
|---|---|---|
| Every finger is tight | Cutter width and indexing relationship | Adjust the setup and make a fresh test |
| First fingers fit, later ones drift | Index spacing or movement during cutting | Check repeated spacing and secure the jig |
| One corner stops short | Chip, bruised edge or uneven socket floor | Remove only the obstruction |
| Joint closes but faces step | Reference faces or stock thickness | Correct the layout before final cutting |
Find contact instead of guessing
Start the dry fit square. Look for bright compressed patches, pencil transfer or a single finger that starts before its neighbor. Use a sharp chisel to remove a tiny high spot, keeping the wall square. Do not round the whole finger with abrasive just because one point is tight.
If all fingers need substantial trimming, return to the cutting setup. Hand-adjusting every surface can leave a joint that closes but has visibly uneven gaps. Never adjust a powered jig with its machine running or connected where accidental startup is possible.
Leave room for an orderly glue-up
Prepare clamps, protective blocks and a square before applying adhesive. Spread a controlled film on the mating surfaces rather than filling the sockets. Wet glue changes how the joint slides, and available assembly time depends on the adhesive and shop conditions.
Bring the sides together evenly. Check diagonals while correction is possible and use only enough clamping force to seat the joint. Excess pressure can bow thin box sides. Leave any deliberately proud fingers for final leveling after the adhesive has cured.
Keep the successful test corner. Label the stock thickness and setup details so it becomes a reference for this project, not a supposedly universal setting for the next board.
Related workshop guides
- The ten-minute dry run that makes a glue-up calmer
- Clamping cauls: keep panel faces aligned without forcing warped boards flat


Comments
Post a Comment