
For a tight-fitting wooden box or shelf, ordinary wood glue is usually the first bottle to consider. A repair with missing material, a joint you may need to take apart, or a tiny chip calls for a different decision. Choose by the job and the exact product label.
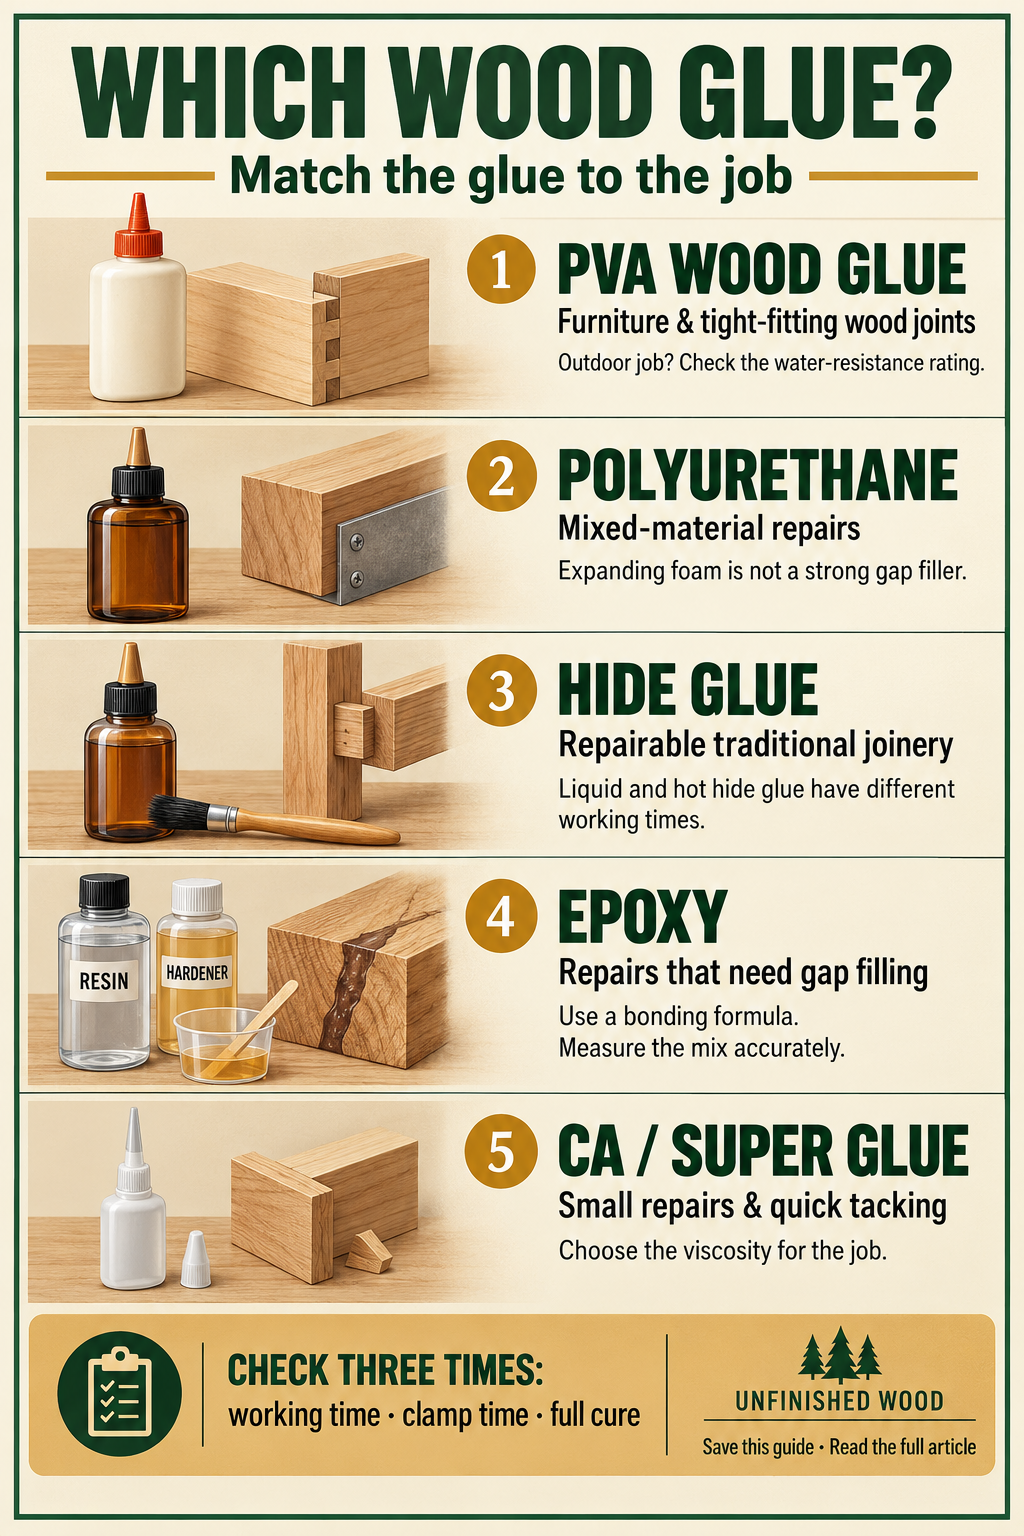
Choose by the joint
| Your job | Start with | Check before buying |
|---|---|---|
| Indoor furniture, edge-glued boards, fitted joinery | PVA woodworking glue | Working time and application temperature |
| Outdoor wooden project | An exterior-rated wood adhesive | The specific exposure rating; “wood glue” alone is not enough |
| Compatible wood-to-metal or mixed-material repair | Polyurethane or an appropriate epoxy | Both materials, surface preparation and joint fit |
| Traditional joint where future disassembly matters | Hide glue | Liquid versus hot preparation; old adhesive and finish |
| A repair that needs an adhesive to bridge a gap | Bonding epoxy with a suitable adhesive filler | Mix ratio and permitted filler; repair design |
| Small chip, fine crack or quick positioning | CA glue | Viscosity, staining and working time |
1. PVA wood glue: the everyday starting point
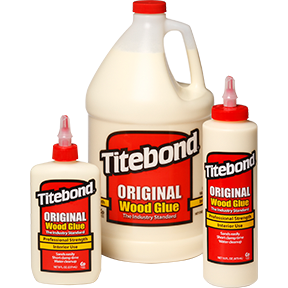
White and yellow woodworking glues include PVA-based formulations. For an indoor project with clean, close-fitting wooden surfaces, this is the practical starting point. Dry-fit everything first: an assembly that takes ten minutes without glue will not become easier once the clock starts.
Titebond Original lists an open assembly time of 4–6 minutes and a total assembly time of 10–15 minutes at 70°F and 50% relative humidity. Those are product-specific figures, not a timetable for every wood glue.
For outdoor use, read the exact label. Titebond Original is an interior example; the manufacturer's wood-glue guide lists Titebond III for exterior and interior projects. Do not assume a waterproof label permits permanent immersion.
2. Polyurethane: useful for compatible mixed materials
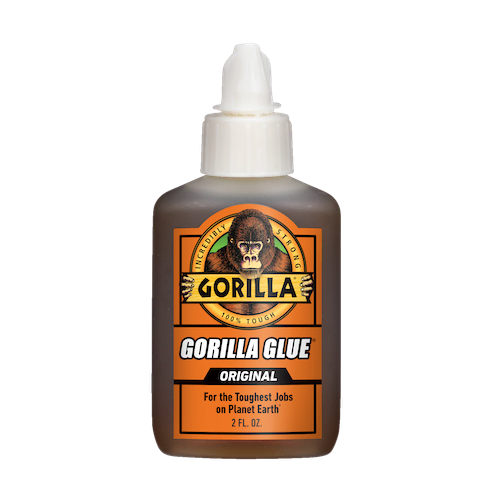
Original Gorilla Glue is a moisture-activated polyurethane adhesive. It is a different product from Gorilla Wood Glue. The manufacturer calls for clean, tight-fitting surfaces, light dampening and restrained parts during cure.
The important limitation is the foam: expansion is not evidence that a loose joint has become sound. Gorilla explicitly lists this product as not gap filling. Fix the fit or choose an appropriate repair method rather than relying on the expanded material.
For this particular product, the instructions specify 1–2 hours of clamping and 24 hours to cure. Its wet-cleanup instructions use a dry cloth, not a universal damp-rag rule. Follow the bottle's directions for the materials you are joining.
3. Hide glue: consider the next repair
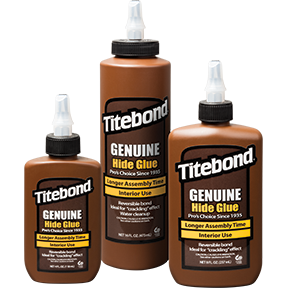
Hide glue is worth considering when a traditional joint may need to come apart again. Titebond Genuine Hide Glue is a ready-to-use liquid product. It does not require the preparation used for hot hide glue.
That distinction matters. A chart that labels every hide glue “long open time” hides differences in formulation, preparation and shop conditions. Read the instructions for the actual product.
Titebond's technical guidance explains that absorbed water can weaken a Liquid Hide Glue joint. This makes future disassembly more feasible; it does not mean every antique can be taken apart without damaging its finish. Identify the existing adhesive before adding another.
4. Epoxy: choose an adhesive system for gaps
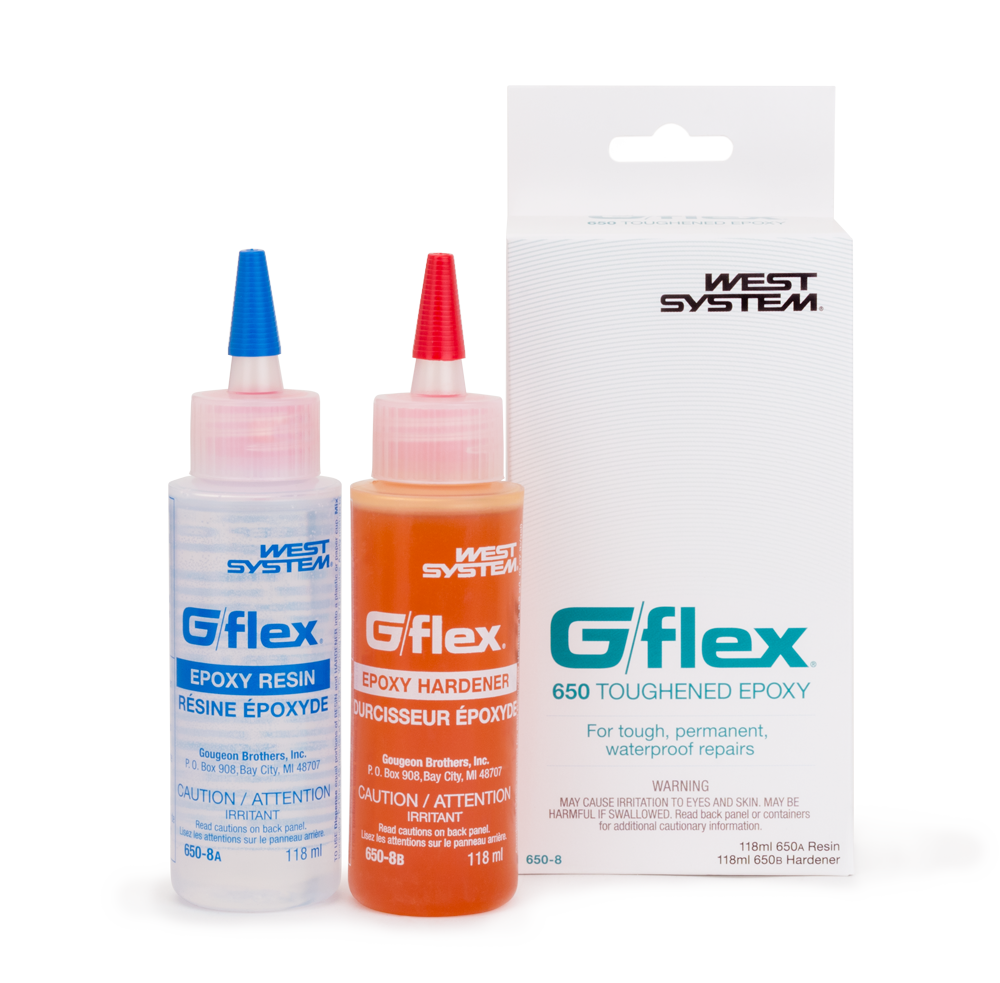
Epoxy combines resin and hardener. For a repair with a gap, choose a system intended for bonding and the filler its manufacturer recommends. A pourable casting resin and an adhesive mixture serve different jobs.
The WEST SYSTEM filler guide distinguishes adhesive fillers from fairing fillers. The latter are chosen for easier sanding; they are not interchangeable with high-density bonding fillers.
G/flex 650, shown here, mixes 1:1 by volume and can be modified with suitable fillers. Its published working time is 75 minutes and full cure is 24 hours at 72°F. Other epoxy systems use different ratios and schedules. More hardener is not a shortcut: measure the stated ratio. A filled crack also does not, by itself, establish that a load-bearing part is safe.
5. CA glue: small repairs and quick tacking
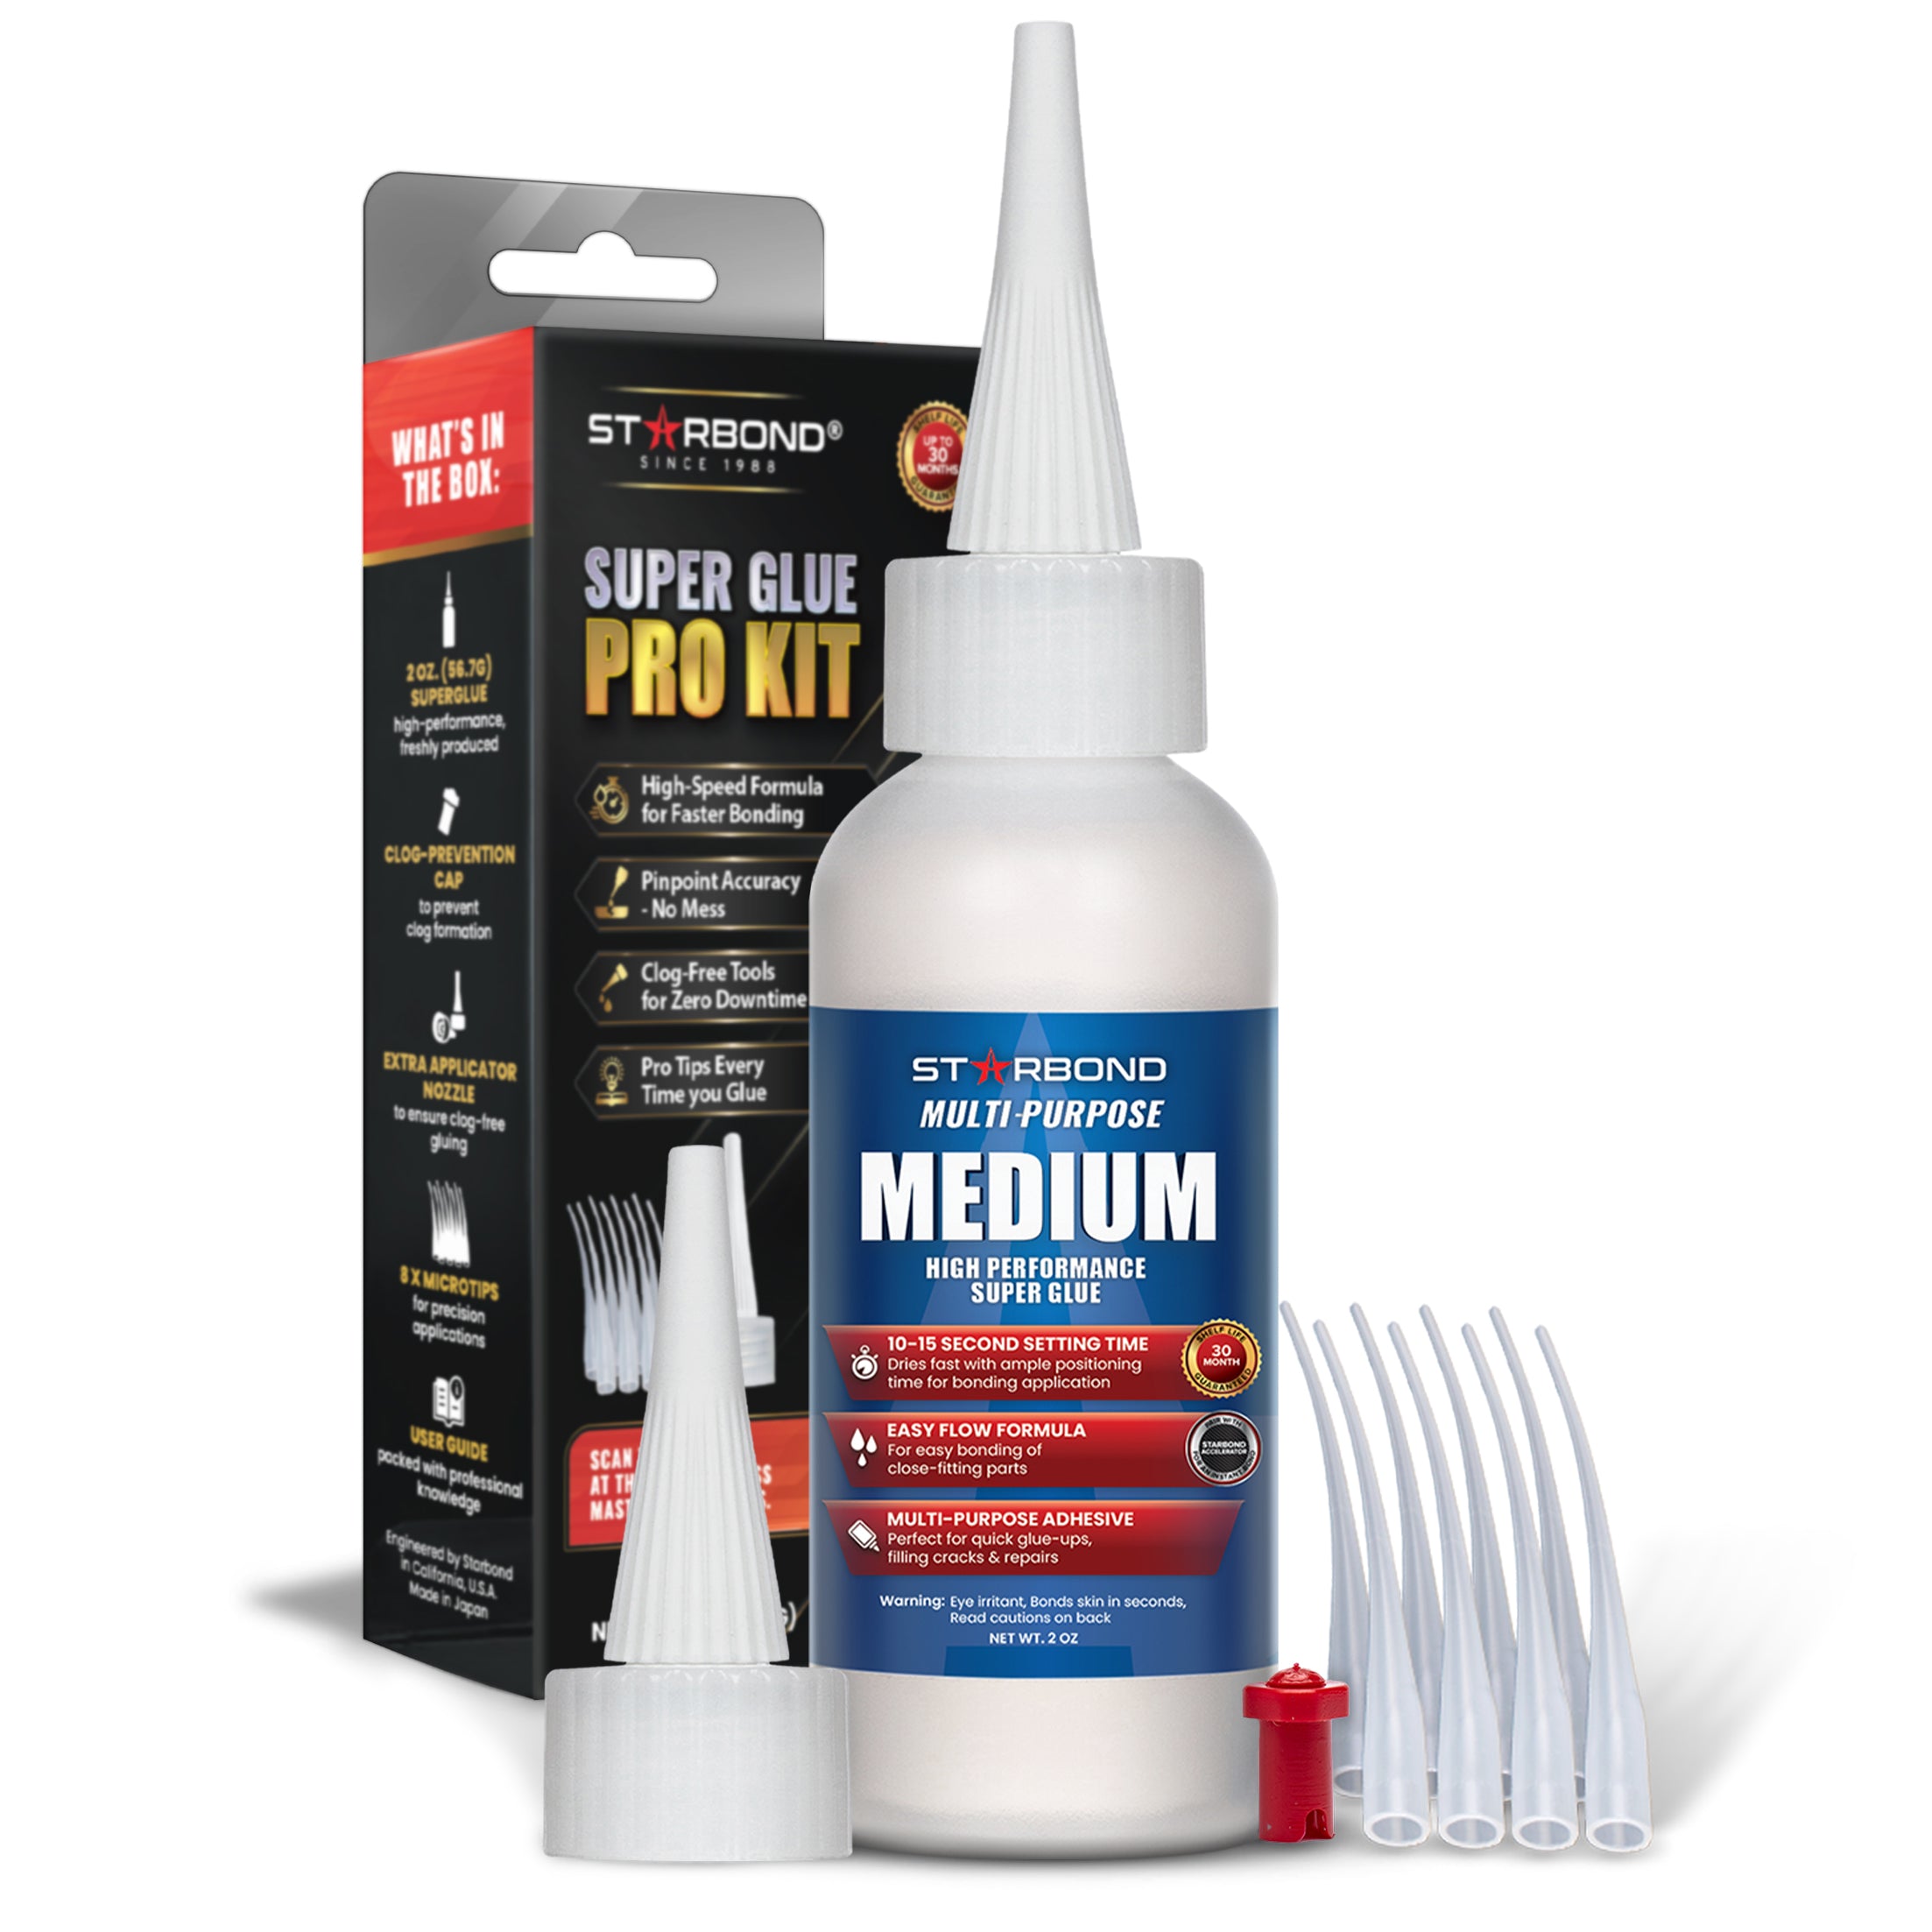
Cyanoacrylate, usually called CA or super glue, is useful when the job is small and positioning needs to happen quickly. Choose its flow as carefully as its speed.
Starbond's viscosity chart lists thin CA at 2 cPs, medium at 150 cPs and thick at 2,000 cPs. Thin glue flows into small openings; a thicker formulation offers more placement control. The medium product shown is one example, not a substitute for every other viscosity.
Try a hidden area or offcut before repairing a visible surface. A fast repair is not helpful if the glue leaves a conspicuous patch under the final finish. Keep fingers away from the bond line and follow the product's ventilation and eye-protection instructions.
Working time, clamp time and full cure
| Label term | What it tells you | Your decision |
|---|---|---|
| Open / assembly / working time | The available window for applying and assembling, as defined by the manufacturer | Can you complete this glue-up in time? |
| Clamp time | How long the assembly needs restraint under the specified conditions | When can the clamps come off? |
| Full cure / time before loading | When the product reaches its stated cure or can take the specified load | When can you use the part? |
For epoxy, pot life in a mixing cup and working time after spreading can differ. Check the manufacturer's definitions and temperature. Do not convert “sets in five minutes” into permission to load a joint after five minutes.
Compare the assembly window before a complicated glue-up
Count the time from spreading the first glue, not from reaching for the final clamp. Rehearse the complete assembly once. If alignment already consumes the available window, split the job into subassemblies or choose an adhesive with an appropriate longer working time.
| Specific product | Open assembly time | Total assembly time | Practical use |
|---|---|---|---|
| Titebond Original | 4–6 minutes | 10–15 minutes | A simple indoor glue-up you can close and clamp promptly. |
| Titebond III Ultimate | 8–10 minutes | 20–25 minutes | More assembly time; check the exterior-exposure limitations. |
These manufacturer figures are at 70°F (about 21°C) and 50% relative humidity. Open time is the interval before the mating surfaces are brought together; total assembly time also includes the closed assembly interval before final clamping. Neither figure is permission to remove the clamps. See Titebond's product guidance and the Titebond III data sheet.
For most Titebond wood glues, the manufacturer's FAQ recommends clamping an unstressed joint for 30–60 minutes, a stressed joint for 24 hours, and avoiding stress on a new joint for at least 24 hours. A springy bent lamination is not the same job as a flat, well-fitted panel. Cold conditions and unusual materials need the product's specific advice.
Three common glue-selection mistakes
| Tempting shortcut | Why it fails | Better next step |
|---|---|---|
| Use expanding polyurethane to fix a loose joint | The foam is not a replacement for fitted wood-to-wood contact. | Refit the joint; for a repair, evaluate an adhesive epoxy system and the repair geometry. |
| Use extra epoxy hardener to speed the cure | Changing the specified ratio can prevent a proper cure. | Choose the correct hardener or system and measure its ratio accurately. |
| Choose the strongest-looking number on a chart | Numbers from different test methods and substrates are not a fair ranking. | Choose for joint fit, materials, exposure and the time needed to assemble. |
A simple PVA glue-up in three steps
This example joins two solid-wood boards along their long edges. The pictures illustrate a PVA edge glue-up; epoxy, polyurethane and other adhesives have their own preparation and handling requirements.
1. Dry-fit the joint
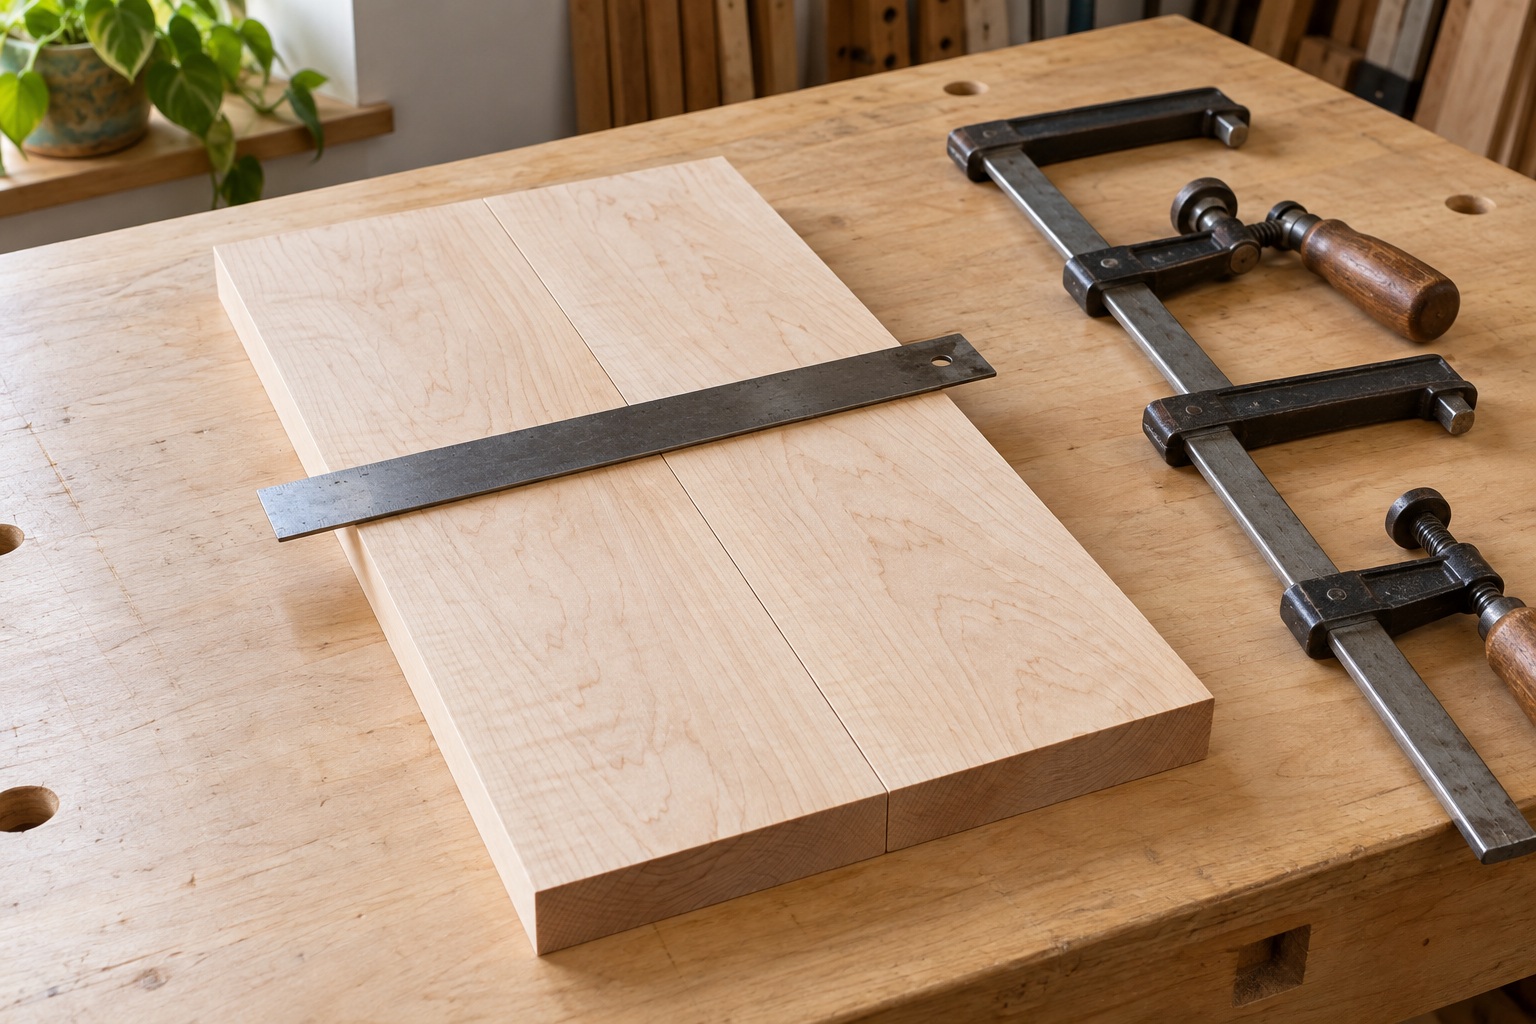
Bring the jointed edges together without glue. Check that the seam closes and the faces sit flush. Put the clamps and protective pads within reach; pressure should not be needed to correct badly fitted edges.
2. Spread an even film on the mating edge
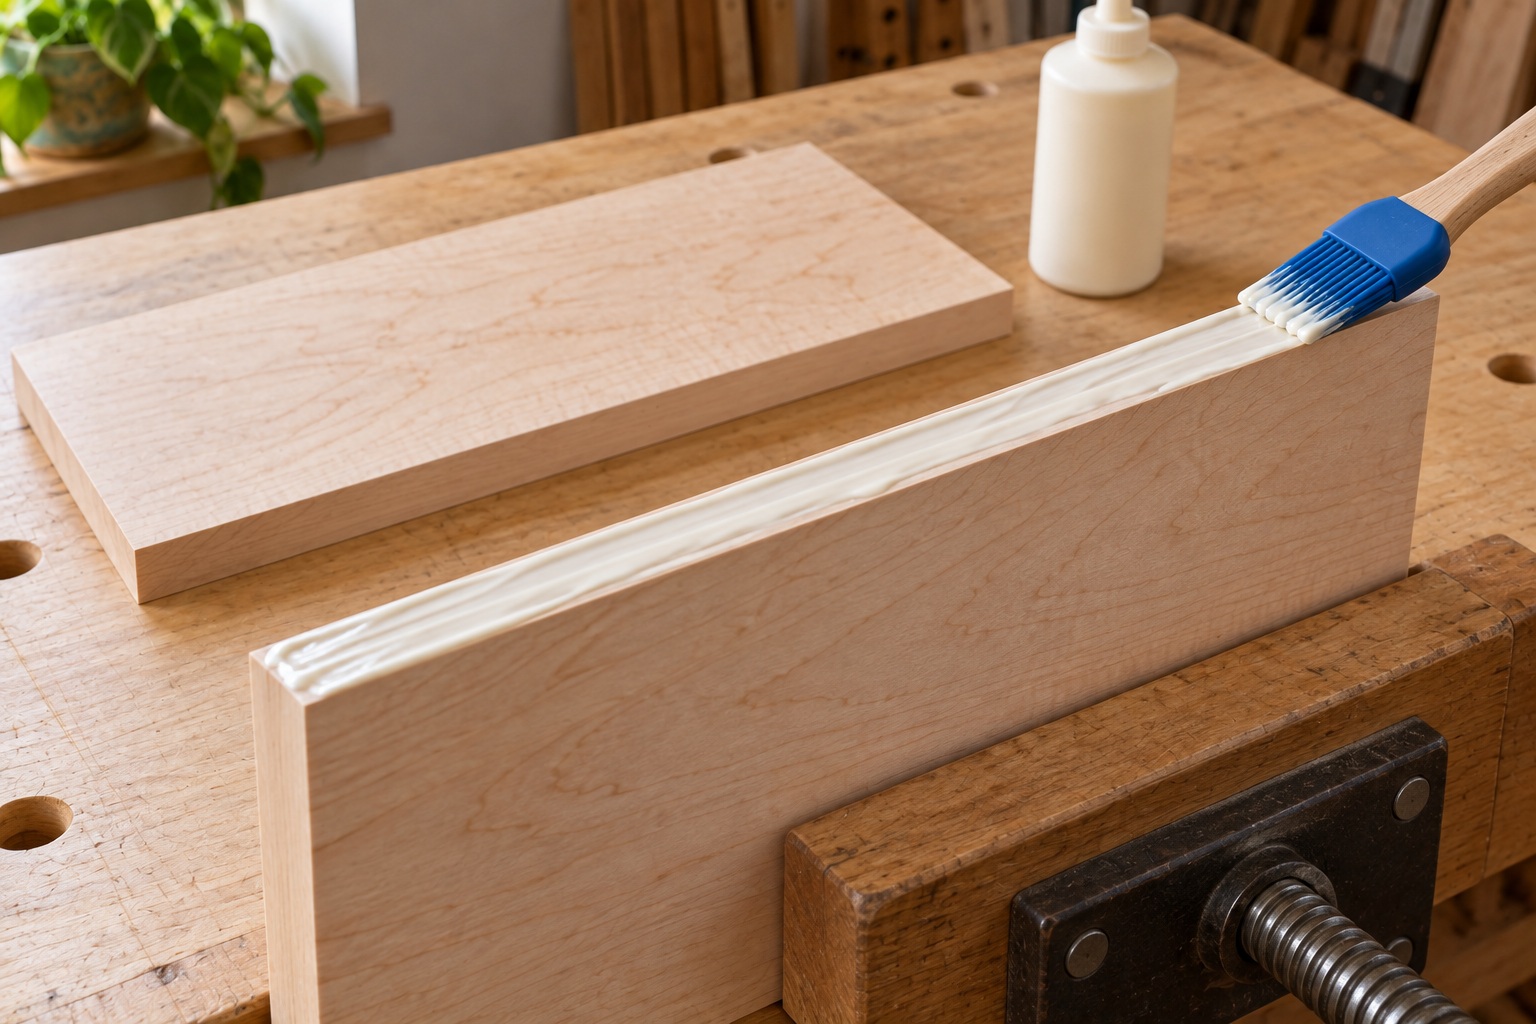
For this simple edge joint, spread PVA evenly over the clean mating edge, following the product’s application instructions. Cover the bonding surface rather than leaving isolated beads. Assemble within the stated working time; do not coat the broad face or the end grain by mistake.
3. Clamp across the seam and check alignment
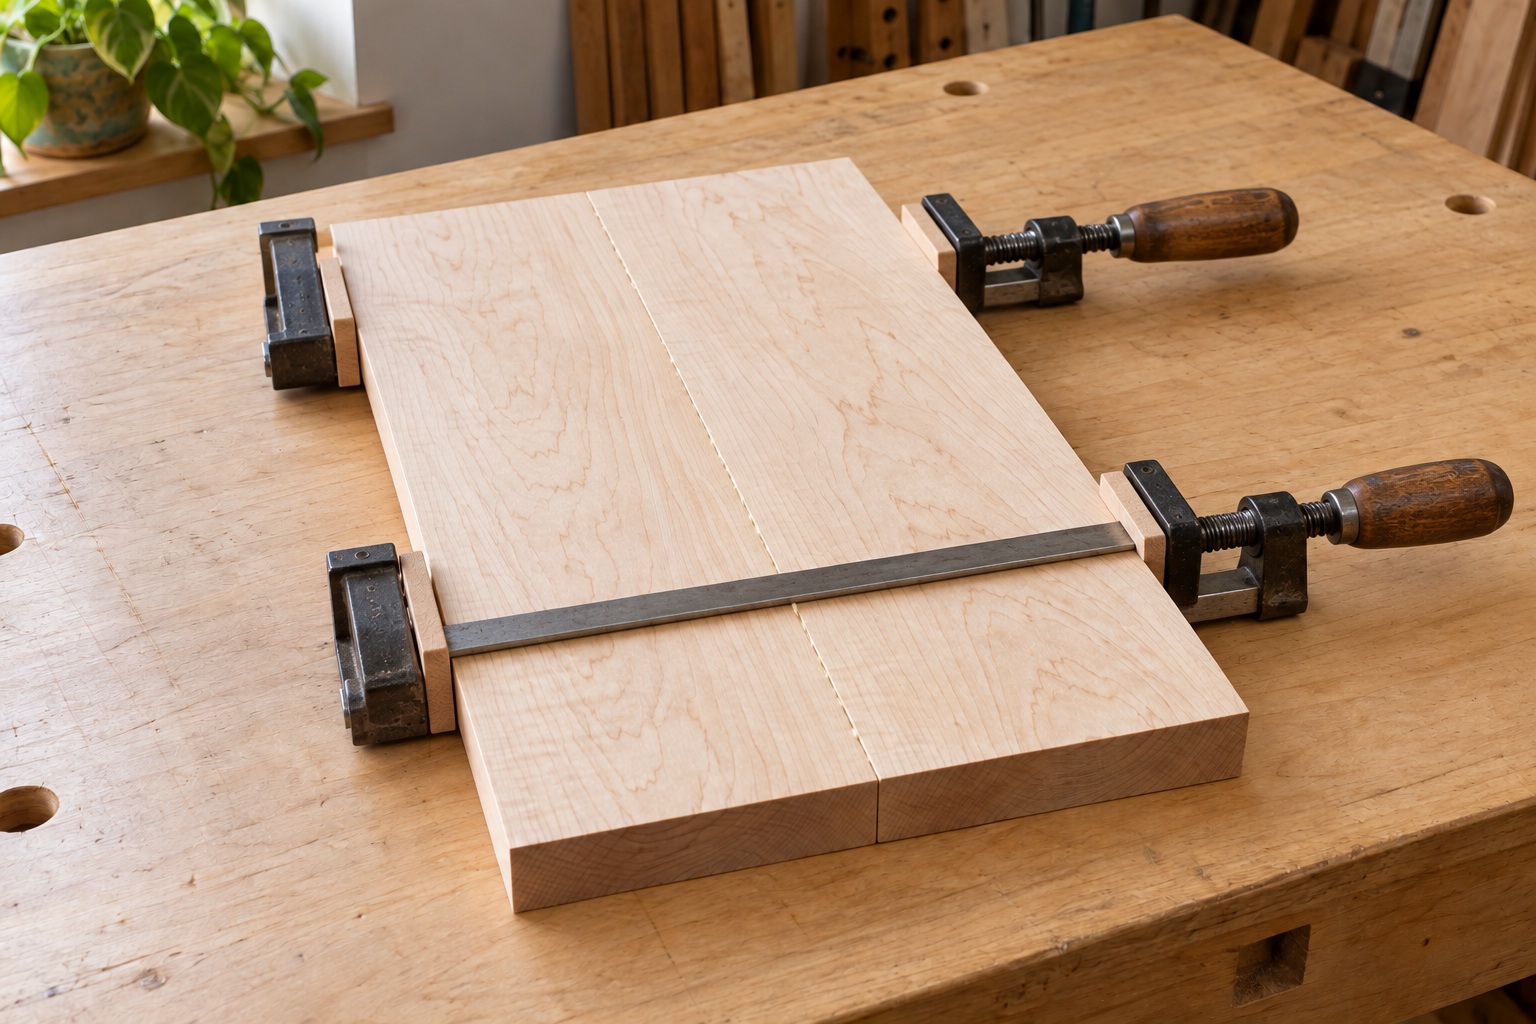
Close the joint, then tighten the clamps gradually while checking that the faces stay flush and the panel stays flat. Use protective pads and enough pressure to seat the joint. A little squeeze-out can appear, but its amount alone does not prove a sound bond. Follow the glue’s clamp-time and loading instructions.
Before opening the bottle
- Dry-fit and rehearse. Put clamps, cauls and alignment aids within reach.
- Check the joint and materials. Decide whether you need a close-fitting bond, gap filling or later disassembly.
- Read the exposure and temperature limits. Match the exact formula to the environment.
- Plan cleanup for that adhesive. Water cleanup for one glue says nothing about another.
- Make a finish sample. Include a small glue line so you can spot residue before working on the finished piece.
Glue residue can resist stain. Titebond's application guidance suggests masking adjacent areas to keep unwanted glue out of the wood. Use the same care around fitted wood plugs, where an otherwise neat repair can develop a visible halo.
Product examples identify adhesive types; this is not a comparative strength test. Product images are from the linked manufacturers and remain their property. The saveable guide uses original illustrative artwork. Check your current container and technical data sheet before use.
Read the water-resistance claim carefully
An adhesive with a water-resistance rating does not make the wood itself rot-proof, and “waterproof” does not automatically authorize continuous immersion or structural use. Check the named product's permitted applications and limitations. Outdoor joints also need a design that sheds water.
Apply it where the joint actually meets
Aim for complete coverage of the intended bonding area without flooding the assembly. Seat the joint with controlled pressure. If squeezing harder is the only way to close it, stop and look for a fit problem rather than assuming the glue needs more force.
Write the product and assembly date on a hidden part or in your project notes. If a joint fails later, those details are more useful than remembering only that you used “wood glue.”


Comments
Post a Comment