An independent woodworking journalMake something worth keeping.
Good wood.
Useful knowledge.
A little patience.
The Wood Journal

Marking Knife vs Pencil: Which to Use for Woodworking Layout

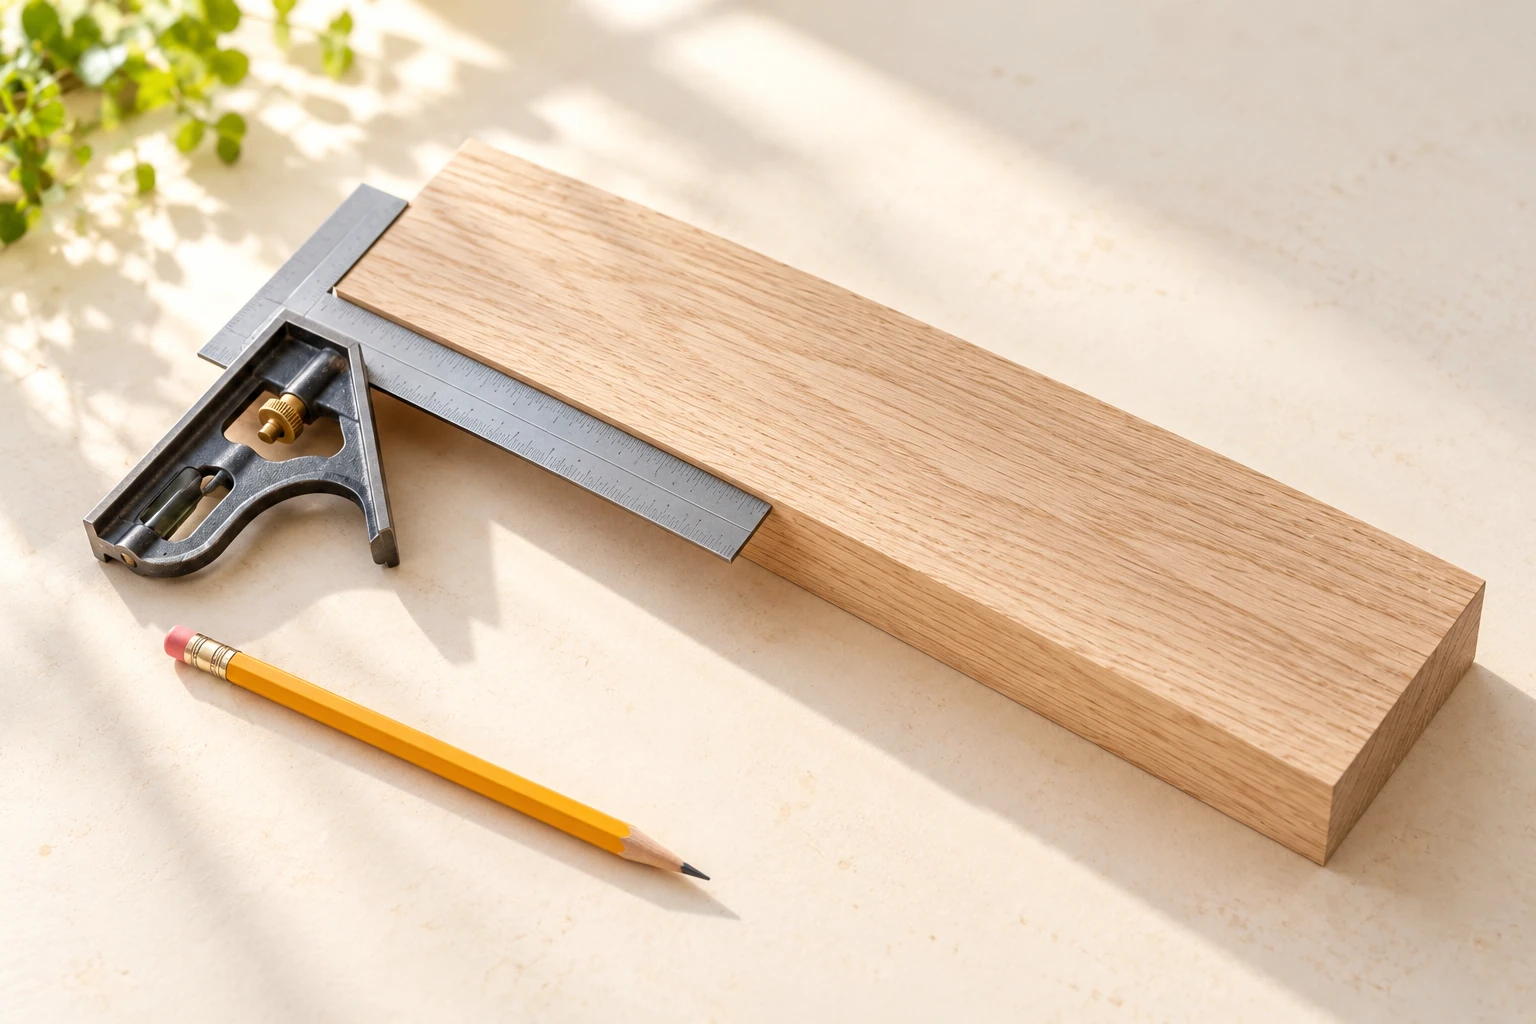
Pencil, combination square and wooden board arranged for layout; not an in-use knife demonstration.

Use a pencil for rough sizing, part names and waste marks. Use a marking knife when you need a fine physical boundary for joinery layout and the scored line belongs on the finished part. Neither tool fixes an incorrect measurement or a square that moved while you marked.

I would keep both at the bench. A sharp pencil is the convenient choice for deciding which piece comes from which board. For a joint shoulder, I would consider a knife after checking the reference face and deciding where the waste will be. A scored mistake on a visible face is harder to remove than a pencil note.

What changes when you score the wood?

A pencil leaves a visible deposit with some width. You must decide which part of that width represents the intended boundary. A marking knife cuts a fine groove into the surface. That groove can provide a physical reference, but it is also a cut you cannot erase.

The Veritas shop knife description illustrates a useful design consideration: its blade can be reversed to register against either side of a reference surface. Other knives have different blade geometries. Check your tool's instructions rather than assuming every pointed blade sits against a square in the same way.

Choose the mark for its purpose
TaskUseful starting toolReason to change
Rough board breakdownPencilUse a finer reference when establishing a final dimension.
Part names and orientationPencilUse removable labels if marks may remain visible.
Waste identificationPencil XKeep it away from the precise boundary.
Joinery shoulder layoutMarking knife where appropriateA visible scored line may be unacceptable on the show face.
Finished or thin veneered surfacePlan the mark location firstTest a removable method; avoid assuming a knife mark will sand away.
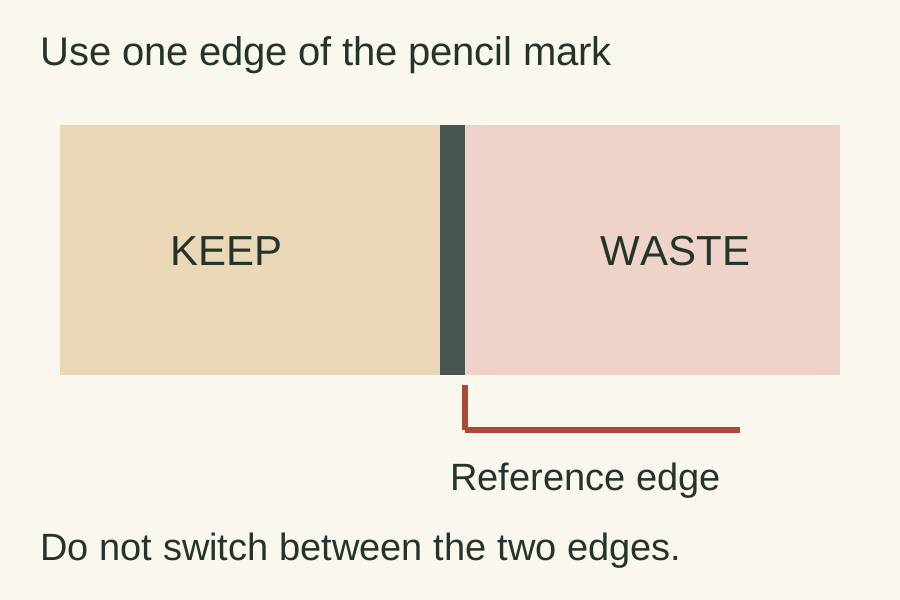
Top-view board diagram with keep area, thick pencil mark and waste area; one line edge is selected as the consistent reference.
Original layout diagram; line widths exaggerated for clarity.

Make a controlled practice layout

Gather a sound offcut, a checked square, a sharp pencil and the marking knife you intend to use. Secure the work so it cannot slide. Keep fingers outside the blade's path and protect the edge when the tool is put down. Use the manufacturer's handling guidance for the particular knife.

  1. Choose one reference face and one reference edge. Mark them in pencil where the marks will not spoil the project.
  2. Put a pencil tick at the intended location. Check the dimension and identify the unwanted side before scoring anything.
  3. Seat the square firmly against the chosen edge. Look for dust, a rounded corner or a splinter preventing full contact.
  4. Try a pencil line on one part of the offcut. Keep the pencil angle consistent and note which edge of the line you will use.
  5. On a separate practice area, make a controlled knife mark using the blade's specified registration face. Do not push harder to compensate for a blunt or poorly positioned edge.
  6. Lift the square and inspect the mark. Check whether it is single and continuous, and whether it reaches only the intended area.

If the knife wanders along the grain or creates two nearby tracks, stop and check the setup. Repeating the same movement with more force can deepen the wrong line. Practise on another area until you can place one clear boundary.
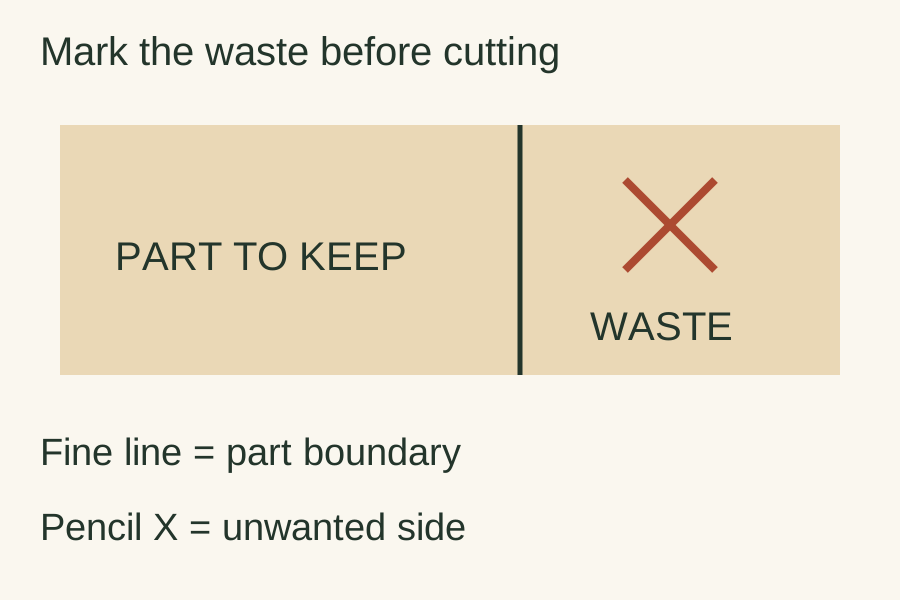
Board with a fine boundary line and a pencil X on the waste side, separating the part to keep from the unwanted end.
Original layout diagram; line widths exaggerated for clarity.

A finer line still needs a cutting plan

Before sawing or chiselling, identify the part to keep and the waste. Allow for the cut itself according to the method you are using; a knife line is not an instruction to centre every saw blade on it. Follow the joint-making procedure for approaching and finishing that boundary.

For a practice comparison, mark two separate offcuts to the same intended length using the two methods. After working them to size, check the result against the same reference. Record whether the difficulty was seeing the line, selecting its edge, or keeping the cutting tool where intended. This is a suggested exercise, not a reported test result.

Check the square first using the combination-square accuracy guide if its accuracy is uncertain. For repeated parts, establish one accepted reference before marking the whole batch. A precise-looking line repeated from the wrong edge simply repeats the error.

Original editorial illustration.

Owen Mercer
Tools & workshop practice

Owen Mercer

Workshop notes on hand tools, joinery, jigs and the small habits that make a project easier.

Comments

Popular posts from this blog

Lumber Grades At A Glance

Illustrative AI-generated image. Domestic hardwood lumber found at sawmills meets different quality levels or grades as specified by the National Hardwood Lumber Association (NHLA). The basis for this wood grading is the number and size of defect-free clear cuttings in a board, as summarized below, Thickness is not a consideration, though with some species worm holes, gum pockets, and stain are acceptable. FAS (First & Seconds) lumber grade. This premium grade represents the finest lumber yield in a log. Generally, the minimum size board is 6" wide by 8' long which yields a minimum of 83 1/3% clear cuttings on its poorest face. F1F (FAS One Face) lumber grade. The best face grades as clear FAS; the worst, as #1 common, containing some knots. Selects lumber grade. Close to a FAS board. A Select board must be a minimum of 4" wide and 6' long and yield a minimum of 83 1/3% clear cuttings, but only on one face with #1 common on the worst face. #...

4-Step Antique Finish

Create a fool-the-eye timeworn look. Some projects, like wine server for your wood cabinet, are not unlike a pair of blue jeans, Both look better after a few years of regular use. To create that well-worn look wood finish, I have come up with a finishing schedule that can add a century's worth of character in less time than it would take to stonewash a new pair of Levis. At first glance, this four-step finish might appear demanding, bur keep reading. As you'll soon learn, this special finish amounts to little more than a combination of a few basic techniques you've probably used before. The “pickling" and - “highlighting” I use aren't much different than whitewashing a fence. Simply brush on the color and then wipe some off until it looks good to you. And after each step you'll apply a quick-drying seal coat to save your work. Besides providing an additional decorative element to your work, antiquing has some practical advantages. Adding color to t...

How to buy Sawmill Hardwood and Save (Part 1)

Illustrative AI-generated image. When you visit a home center to purchase hardwood lumber, more than likely you'll encounter limited quantities, limited species, and through-the-roof pricing. In some cases, you're paying for that shiny cellophane wrapper. Before you sell your tools and steer toward a different hobby, you need to check out the benefits of shopping at a lumber sawmill. While some mills service only the commercial building industry. make pallets, or ship woods overseas, many gladly sell to the local woodworker. Here is where you'll find great variety and huge savings. If the special lingo and ways in which sawmills sell hardwood have kept you at bay, let us help you shop like a pro. First things first: finding a sawmill. While your local yellow pages will yield results when you look under "Sawmills” or “Lumber-Retail," members of 10 cal woodworking clubs, woodworking friends, or woodworking specialty stores may serve as better sources for locati...

It starts with
a piece of wood.

Unfinished Wood is a collection of practical ideas for the workshop: choosing your materials, solving small problems, and bringing out the character in what you make.

The journal voices

Owen Mercer
Tools & workshop practice

Owen Mercer

Workshop notes on hand tools, joinery, jigs and the small habits that make a project easier.

Ben Harlow
Wood & materials

Ben Harlow

Practical guides to choosing lumber, understanding grain and planning for wood movement.

Daniel Reed
Surface & finish

Daniel Reed

Notes on sanding, test samples, color and finishes that let the character of the wood show through.

Search This Blog