An independent woodworking journalMake something worth keeping.
Good wood.
Useful knowledge.
A little patience.
The Wood Journal

How to Measure Wood Thickness with Calipers

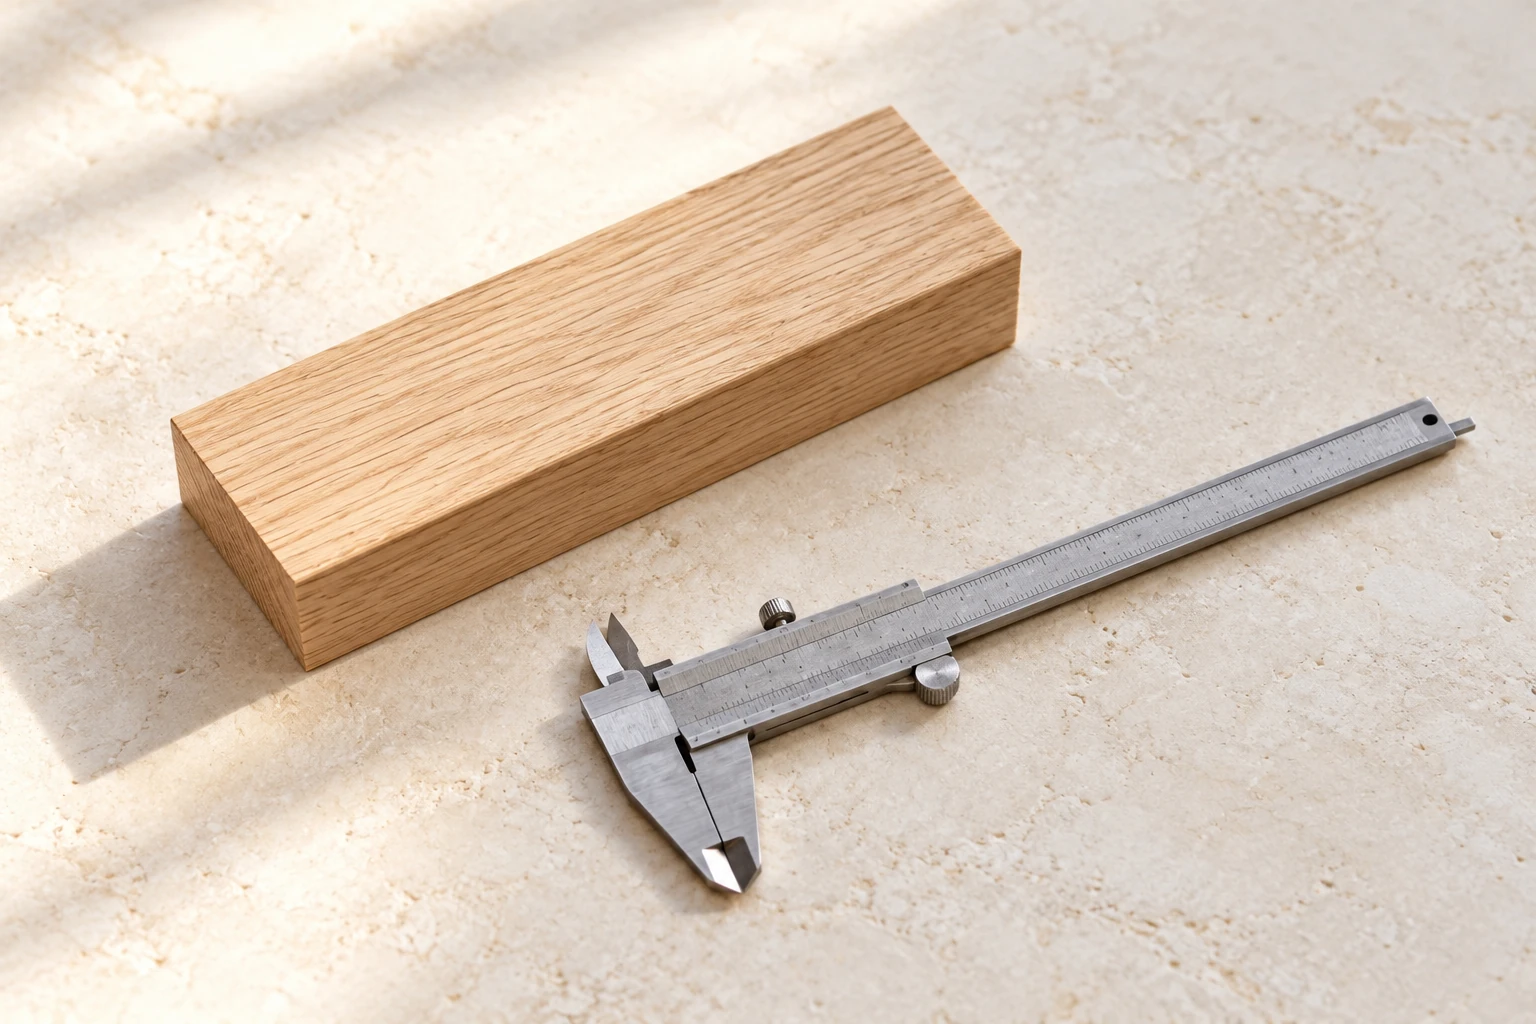
A vernier caliper beside a wooden board; illustrative equipment, not a measurement reading.

Measure wood thickness with the outside jaws of a caliper, closing them gently against the two faces. Check the zero first, keep the tool square to the faces, and repeat at several positions. One reading at a damaged corner tells you little about the rest of a board.

I would measure the actual piece that will enter a joint, then keep a labelled offcut for the trial fit. A caliper is useful for recording dimensions, but the offcut also exposes a tight corner or uneven cut that a single number can miss.

Check the caliper before touching the wood

Clean the measuring faces and close them gently. Confirm the zero according to the instrument's manual. Digital models differ: Mitutoyo explains that some need their position reset after switching on, while its absolute-position systems retain an origin. Retaining an origin does not make dirt between the jaws harmless.

Use the large outside jaws for board thickness. The smaller inside jaws and the depth rod measure other features. Check the displayed unit before recording a value. A screen showing hundredths of a millimetre is a display resolution; it is not proof that your measurement is accurate to that amount.

Measure one board in six steps

  1. Place the board on a stable surface with access to both faces. Remove loose dust from the contact area. Avoid splinters, dents and glue deposits.
  2. Open the jaws slightly wider than the board. Bring the flat measuring faces onto sound wood, away from a rounded edge.
  3. Align the caliper across the thickness. Keep both jaw faces seated rather than balancing their tips on two corners.
  4. Close gently until there is contact. Do not squeeze soft wood to make the reading stop changing.
  5. Read and record the value with its unit and location. Remove the tool completely, then repeat at the same location to see whether your technique is consistent.
  6. Measure other accessible positions on both sides and near each end. Record the range instead of choosing whichever number matches the plan.

The manufacturer's caliper guide explains alignment and measuring-force errors. Follow your own instrument's instructions, especially if the slider is stiff or the jaws are damaged. This procedure is for stationary workpieces.
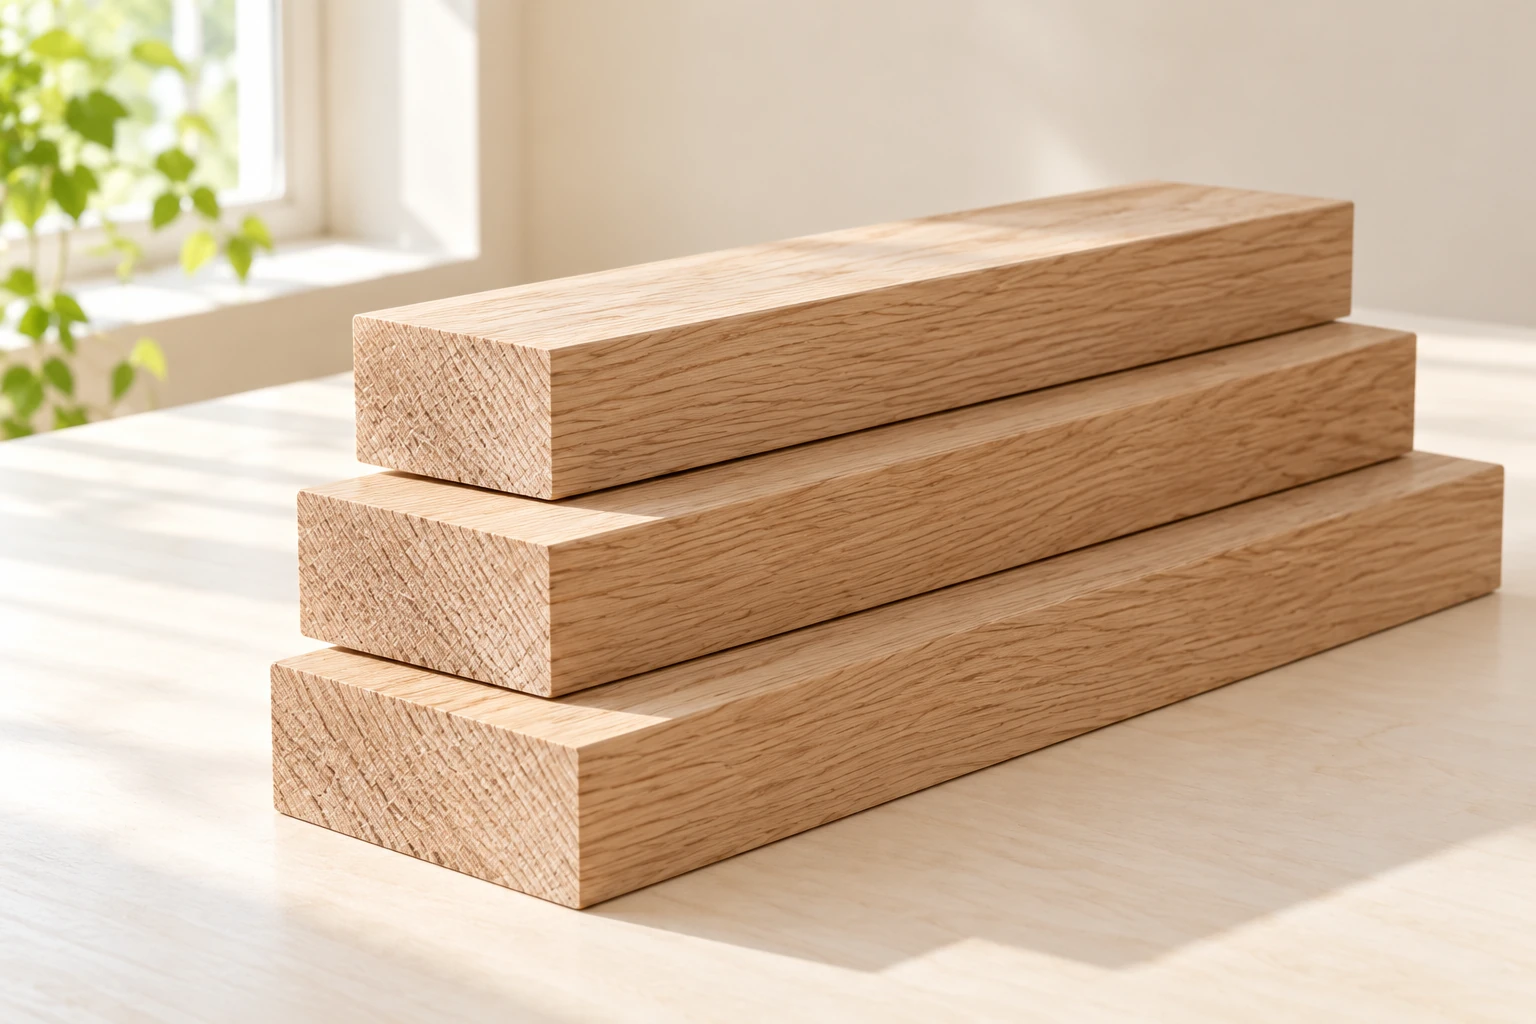
Three stacked boards with accessible ends, illustrating why each board needs its own measurement.
Sample each board separately. Similar-looking stock does not establish matching thickness. Original editorial illustration.

Keep a short measurement record

Practice example: one panel, illustrative readings
LocationFirst readingRepeatNext check
Near end A17.8 mm17.8 mmRecord as repeatable at this spot.
Midpoint, accessible edge17.9 mm17.9 mmInclude in the observed range.
Near end B18.0 mm17.9 mmCheck alignment, pressure and contact surface.

These invented readings demonstrate the record format; they are not a material specification or a measured product. They suggest investigating a roughly 17.8–18.0 mm range. They do not justify cutting a joint to an average and assuming the entire panel will fit.

For matching parts, give each piece an identifier before measuring. If the readings differ, first check whether you are measuring the same kind of surface on each piece. A finish layer, raised grain or a rough-sawn patch changes what the jaws contact.

Plywood needs its own checks
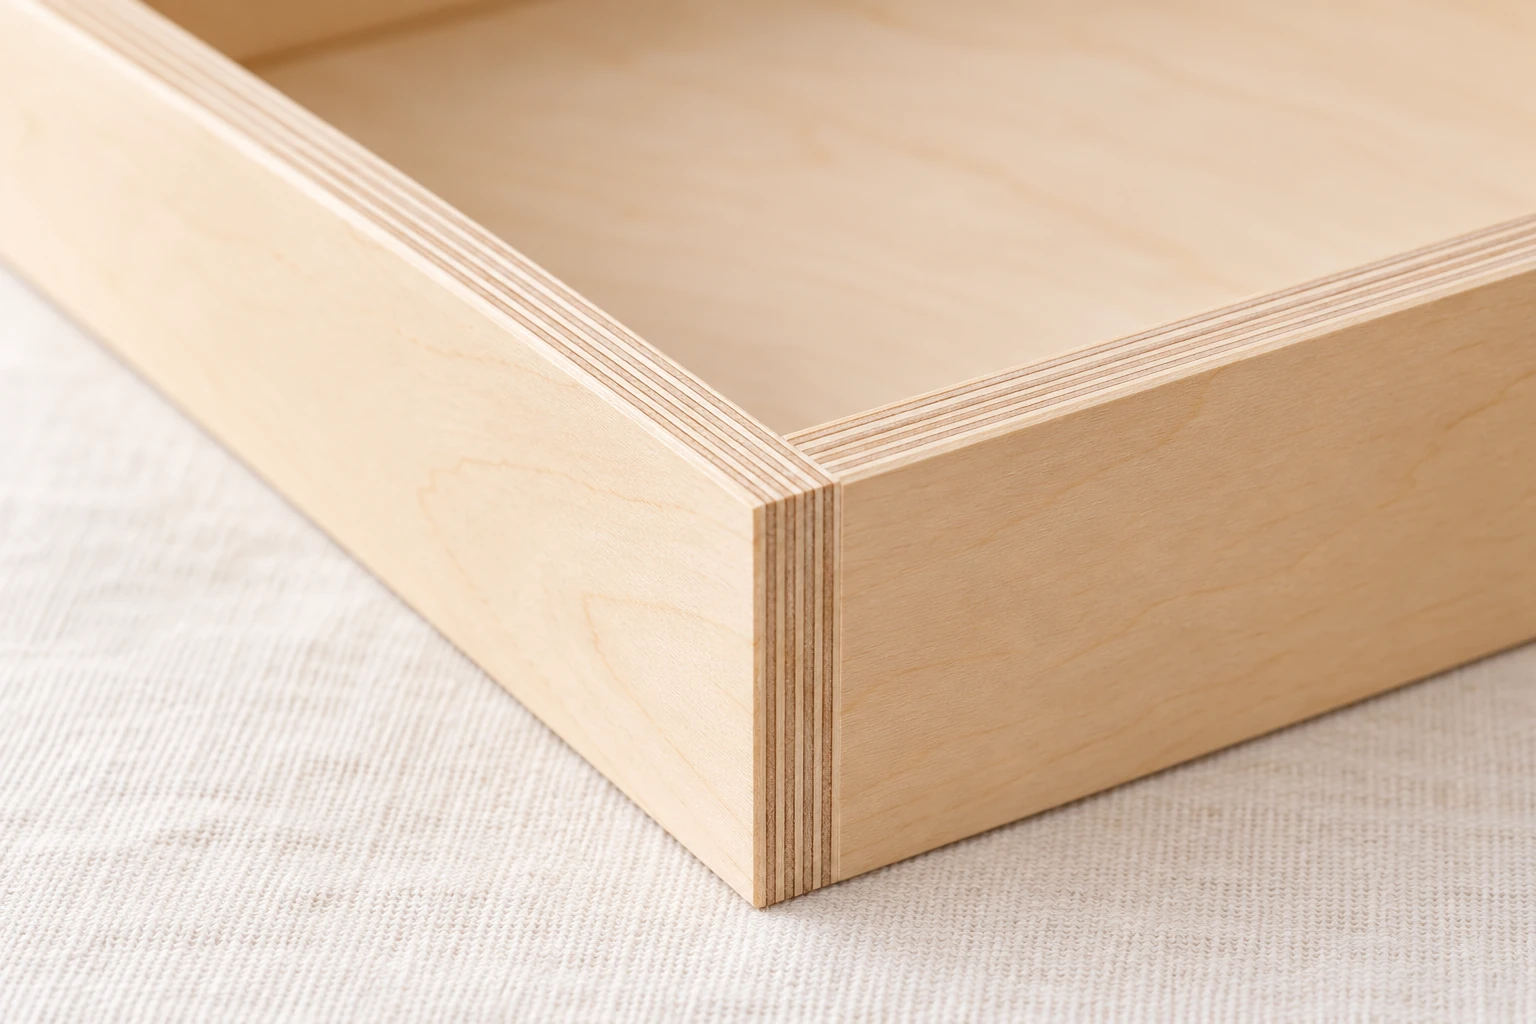
Plywood edges showing layered construction; actual thickness must be measured across the faces.
Measure between the two faces, clear of damaged edges. Counting plies does not determine thickness. Original editorial illustration.

A nominal panel size is a purchasing description. Measure the actual panel before setting up a close-fitting groove. Inspect both faces at the contact points and avoid a chipped edge. A standard caliper reaches only a limited distance into a panel, so measurements around the perimeter do not map its centre.

When that distinction affects the job, use a suitable measuring method for the inaccessible area or check the fit on representative material. Do not label the whole sheet uniform simply because two edge readings agree.

Use the reading to make a decision

If a joint is the next operation, make a trial cut and fit the labelled offcut. For a dimension-critical assembly, establish an acceptable tolerance before machining. An unexplained 0.1 mm change deserves a repeat check; it does not automatically demand removing more wood.

Keep the record with the parts rather than rewriting the plan's nominal dimension as if it were measured. The useful result is a repeatable measurement, a known location and a fit check appropriate to the project.

Related guide: Nominal vs Actual Lumber Sizes: Inch and Millimeter Chart.

Related guide: How to Cut a Dado to Fit Plywood.

Original editorial illustration.

Owen Mercer
Tools & workshop practice

Owen Mercer

Workshop notes on hand tools, joinery, jigs and the small habits that make a project easier.

Comments

Popular posts from this blog

Lumber Grades At A Glance

Illustrative AI-generated image. Domestic hardwood lumber found at sawmills meets different quality levels or grades as specified by the National Hardwood Lumber Association (NHLA). The basis for this wood grading is the number and size of defect-free clear cuttings in a board, as summarized below, Thickness is not a consideration, though with some species worm holes, gum pockets, and stain are acceptable. FAS (First & Seconds) lumber grade. This premium grade represents the finest lumber yield in a log. Generally, the minimum size board is 6" wide by 8' long which yields a minimum of 83 1/3% clear cuttings on its poorest face. F1F (FAS One Face) lumber grade. The best face grades as clear FAS; the worst, as #1 common, containing some knots. Selects lumber grade. Close to a FAS board. A Select board must be a minimum of 4" wide and 6' long and yield a minimum of 83 1/3% clear cuttings, but only on one face with #1 common on the worst face. #...

4-Step Antique Finish

Create a fool-the-eye timeworn look. Some projects, like wine server for your wood cabinet, are not unlike a pair of blue jeans, Both look better after a few years of regular use. To create that well-worn look wood finish, I have come up with a finishing schedule that can add a century's worth of character in less time than it would take to stonewash a new pair of Levis. At first glance, this four-step finish might appear demanding, bur keep reading. As you'll soon learn, this special finish amounts to little more than a combination of a few basic techniques you've probably used before. The “pickling" and - “highlighting” I use aren't much different than whitewashing a fence. Simply brush on the color and then wipe some off until it looks good to you. And after each step you'll apply a quick-drying seal coat to save your work. Besides providing an additional decorative element to your work, antiquing has some practical advantages. Adding color to t...

How to buy Sawmill Hardwood and Save (Part 1)

Illustrative AI-generated image. When you visit a home center to purchase hardwood lumber, more than likely you'll encounter limited quantities, limited species, and through-the-roof pricing. In some cases, you're paying for that shiny cellophane wrapper. Before you sell your tools and steer toward a different hobby, you need to check out the benefits of shopping at a lumber sawmill. While some mills service only the commercial building industry. make pallets, or ship woods overseas, many gladly sell to the local woodworker. Here is where you'll find great variety and huge savings. If the special lingo and ways in which sawmills sell hardwood have kept you at bay, let us help you shop like a pro. First things first: finding a sawmill. While your local yellow pages will yield results when you look under "Sawmills” or “Lumber-Retail," members of 10 cal woodworking clubs, woodworking friends, or woodworking specialty stores may serve as better sources for locati...

It starts with
a piece of wood.

Unfinished Wood is a collection of practical ideas for the workshop: choosing your materials, solving small problems, and bringing out the character in what you make.

The journal voices

Owen Mercer
Tools & workshop practice

Owen Mercer

Workshop notes on hand tools, joinery, jigs and the small habits that make a project easier.

Ben Harlow
Wood & materials

Ben Harlow

Practical guides to choosing lumber, understanding grain and planning for wood movement.

Daniel Reed
Surface & finish

Daniel Reed

Notes on sanding, test samples, color and finishes that let the character of the wood show through.

Search This Blog