An independent woodworking journalMake something worth keeping.
Good wood.
Useful knowledge.
A little patience.
The Wood Journal

How to Choose a Brush for Water-Based Wood Finish

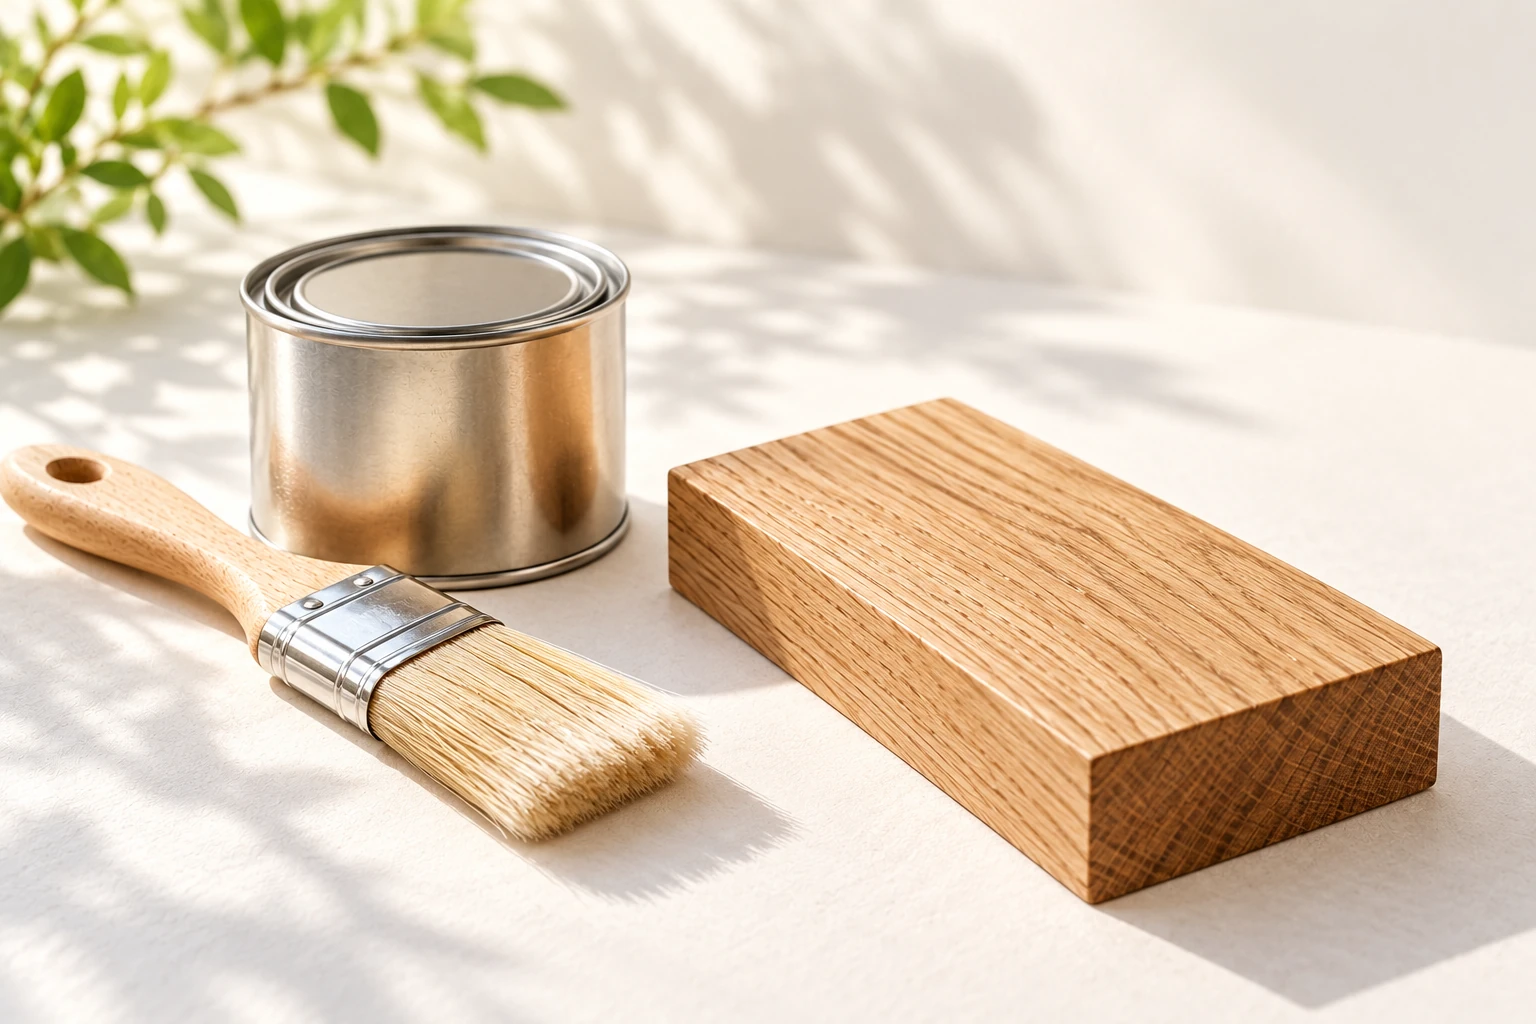
A finishing brush beside an unlabelled tin and wooden block; bristle material cannot be identified by color.

Choose a synthetic-bristle brush labelled for water-based clear finishes, then check the finish manufacturer's application instructions. Width and shape matter too: a brush must fit the surface and leave enough room for a controlled stroke. A brush that looks soft in a photograph is not enough evidence of its suitability.

I would buy one suitable brush for the first project and test it on an offcut before adding more sizes. For a broad panel, a comfortable wider brush may help; for narrow rails and corners, access matters more than coverage. If the finish specifies a different applicator, follow that instruction first.

Why bristle material comes first

Minwax's wood-finishing basics specifies synthetic bristles for water-based products: natural bristles absorb water and lose their working shape. Its guidance also emphasizes checking the product instructions before choosing an applicator. The label on the brush should name its material and intended coatings.

Do not use bristle color as a shortcut. Pale and dark brushes can look similar in shop photographs. Check the packaging or manufacturer's specification, then inspect the actual brush for loose bristles, contamination and a damaged edge. An unlabelled second-hand brush leaves too much uncertainty for a clear topcoat.

Choose by the job in front of you
DecisionStarting choiceCheck before buying
Bristle materialSynthetic rated for water-based finishesThe finish label accepts brushing.
Broad flat faceWidth that allows comfortable overlapping strokesYou can reach the whole working area without awkward grip changes.
Narrow rails or edgesSmaller brush with good accessIt fits without dragging over adjacent surfaces.
Corner or mouldingShape that reaches the recessYou can see and remove pooling while the product remains workable.
Previously used brushClean, flexible and compatibleNo hardened residue or loose material enters the new finish.

Purdy's brush FAQ also distinguishes synthetic and natural bristles by coating compatibility. Compatibility is a minimum requirement, not a promise that every synthetic brush will feel equally controllable on every project.

Run a small brush trial before coating the project

Prepare a sound offcut of the project wood using the same sanding sequence. Gather the finish, its instructions, the brush and the recommended cleaning materials. Arrange the workspace and protective measures specified by the product label. Do not improvise a drying time or thinner from another product's directions.
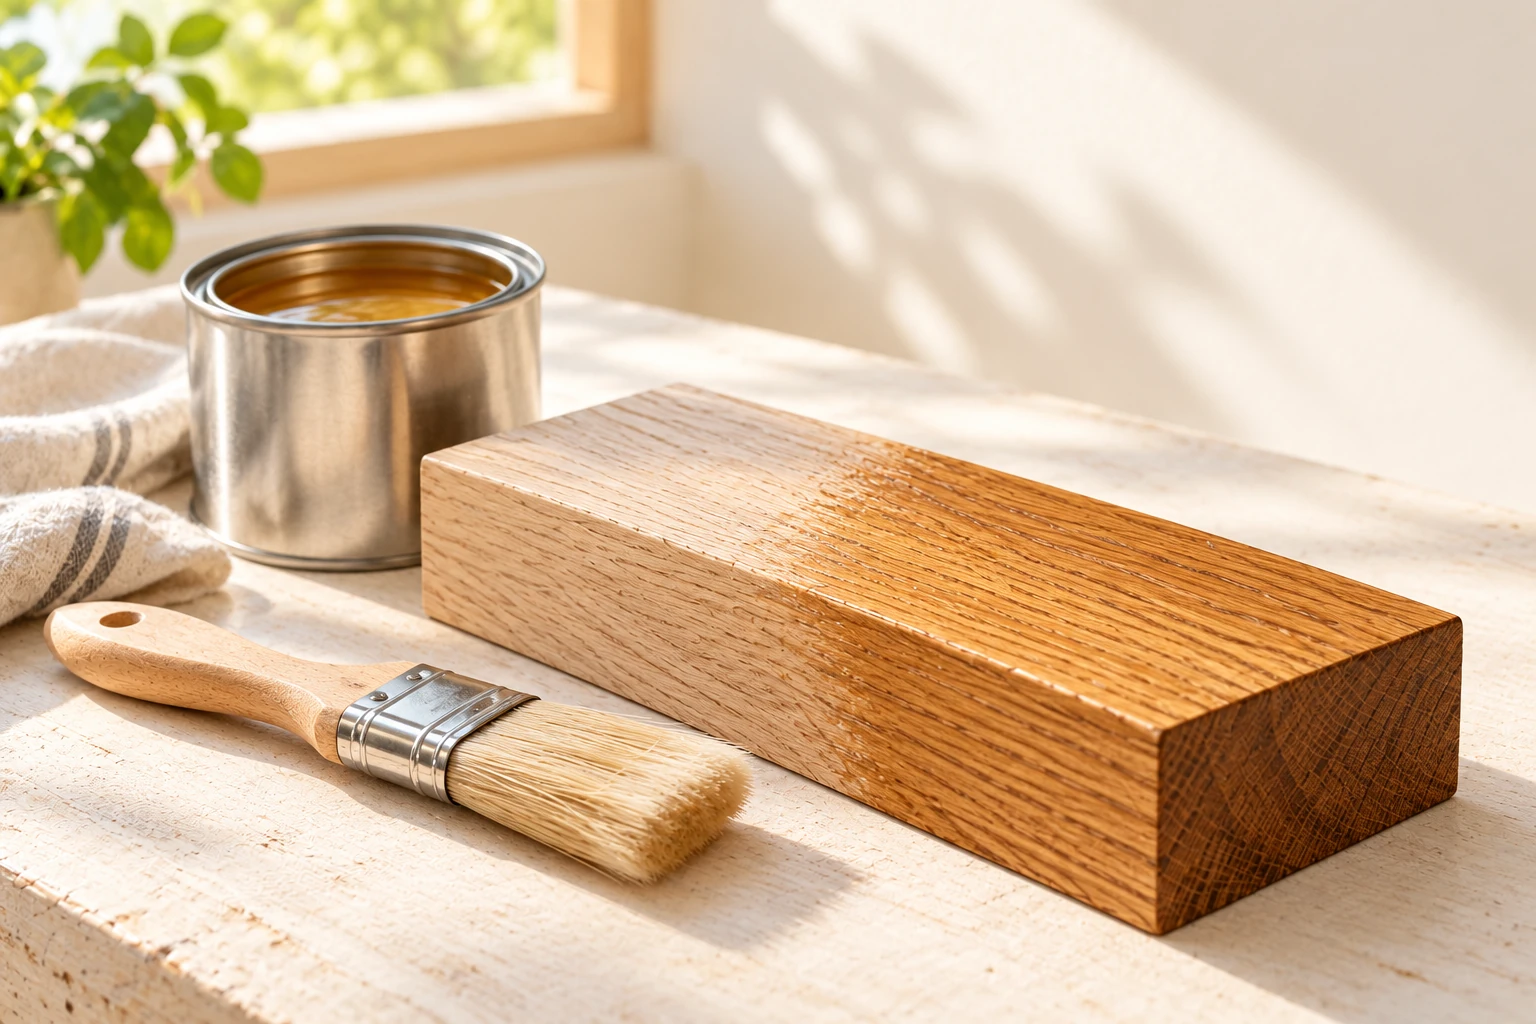
An illustrated brush and partly coated wood sample, showing a separate practice area rather than a verified product result.
Try the brush on an offcut before coating the project. Original editorial illustration.
  1. Inspect the brush before opening the finish. Remove loose material by the brush maker's recommended method; reject a brush that continues shedding.
  2. Label the sample with the finish name and intended coat sequence. Leave space to record the brush used.
  3. Prepare and load the brush according to the coating instructions. Keep the amount manageable so you can place it where intended.
  4. Coat the sample using the specified application method. Watch the edge and corners as well as the face; a tidy face can hide a drip underneath.
  5. Stop working the surface at the point directed by the manufacturer. Repeatedly touching a coat that has started setting can make a local problem harder to correct.
  6. Let the sample dry for the specified interval and inspect it under light directed across the surface. Decide whether to change technique, brush size or preparation before continuing.

Inspect the result before blaming the brush

A visible line does not identify its cause. Record where the mark appears, whether it follows the stroke, and whether there is a ridge at an overlap or a run on the edge. Keep the product's recommended coverage and working conditions in mind. A wider brush will not correct an unsuitable application method.
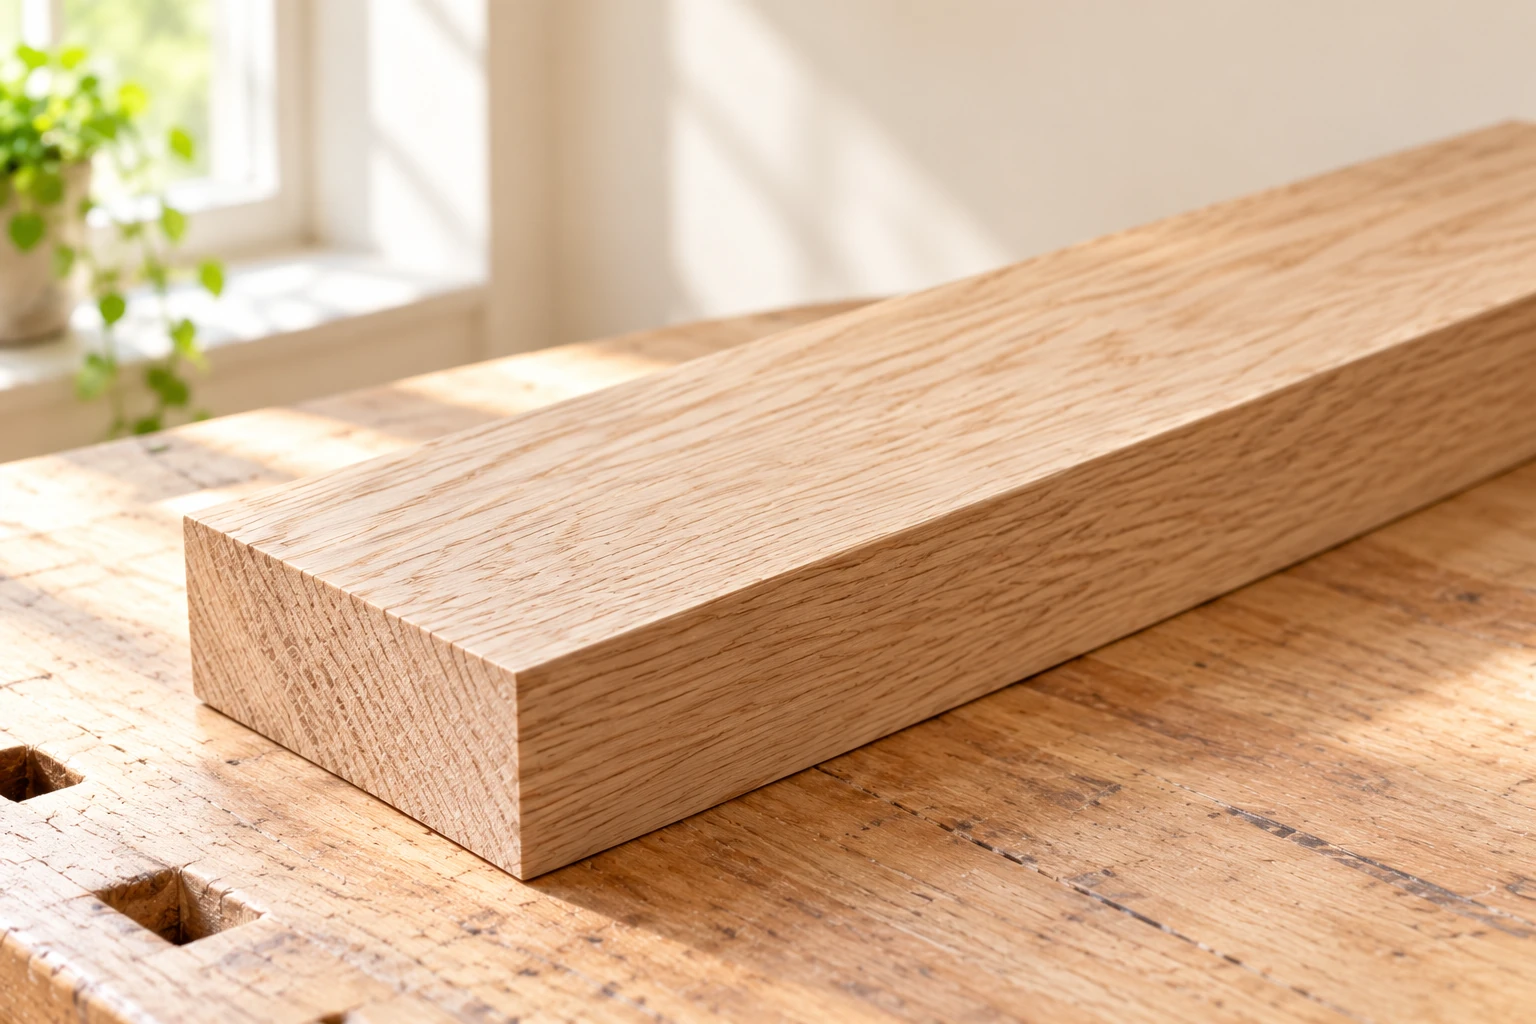
Close view of a wooden face and edge, illustrating the surfaces to inspect after a trial coat.
Check the face for stroke marks and the edge for runs. Original editorial illustration.

For an organized comparison, use the wood finish test-sample guide. If you already have a defective polyurethane coat, the brush marks and bubbles guide addresses that separate repair decision.

Clean it while the instructions still apply

Follow both the coating and brush instructions for cleaning, reshaping and storage. Do not assume every product marketed as water-based has an identical cleanup procedure. Before the next project, check that the brush has dried in a usable shape and that the heel is free of hardened material. Keeping the label or a short equipment note avoids repeating the selection work.

Original editorial illustration.

Owen Mercer
Tools & workshop practice

Owen Mercer

Workshop notes on hand tools, joinery, jigs and the small habits that make a project easier.

Comments

Popular posts from this blog

Lumber Grades At A Glance

Illustrative AI-generated image. Domestic hardwood lumber found at sawmills meets different quality levels or grades as specified by the National Hardwood Lumber Association (NHLA). The basis for this wood grading is the number and size of defect-free clear cuttings in a board, as summarized below, Thickness is not a consideration, though with some species worm holes, gum pockets, and stain are acceptable. FAS (First & Seconds) lumber grade. This premium grade represents the finest lumber yield in a log. Generally, the minimum size board is 6" wide by 8' long which yields a minimum of 83 1/3% clear cuttings on its poorest face. F1F (FAS One Face) lumber grade. The best face grades as clear FAS; the worst, as #1 common, containing some knots. Selects lumber grade. Close to a FAS board. A Select board must be a minimum of 4" wide and 6' long and yield a minimum of 83 1/3% clear cuttings, but only on one face with #1 common on the worst face. #...

How to buy Sawmill Hardwood and Save (Part 1)

Illustrative AI-generated image. When you visit a home center to purchase hardwood lumber, more than likely you'll encounter limited quantities, limited species, and through-the-roof pricing. In some cases, you're paying for that shiny cellophane wrapper. Before you sell your tools and steer toward a different hobby, you need to check out the benefits of shopping at a lumber sawmill. While some mills service only the commercial building industry. make pallets, or ship woods overseas, many gladly sell to the local woodworker. Here is where you'll find great variety and huge savings. If the special lingo and ways in which sawmills sell hardwood have kept you at bay, let us help you shop like a pro. First things first: finding a sawmill. While your local yellow pages will yield results when you look under "Sawmills” or “Lumber-Retail," members of 10 cal woodworking clubs, woodworking friends, or woodworking specialty stores may serve as better sources for locati...

4-Step Antique Finish

Create a fool-the-eye timeworn look. Some projects, like wine server for your wood cabinet, are not unlike a pair of blue jeans, Both look better after a few years of regular use. To create that well-worn look wood finish, I have come up with a finishing schedule that can add a century's worth of character in less time than it would take to stonewash a new pair of Levis. At first glance, this four-step finish might appear demanding, bur keep reading. As you'll soon learn, this special finish amounts to little more than a combination of a few basic techniques you've probably used before. The “pickling" and - “highlighting” I use aren't much different than whitewashing a fence. Simply brush on the color and then wipe some off until it looks good to you. And after each step you'll apply a quick-drying seal coat to save your work. Besides providing an additional decorative element to your work, antiquing has some practical advantages. Adding color to t...

It starts with
a piece of wood.

Unfinished Wood is a collection of practical ideas for the workshop: choosing your materials, solving small problems, and bringing out the character in what you make.

The journal voices

Owen Mercer
Tools & workshop practice

Owen Mercer

Workshop notes on hand tools, joinery, jigs and the small habits that make a project easier.

Ben Harlow
Wood & materials

Ben Harlow

Practical guides to choosing lumber, understanding grain and planning for wood movement.

Daniel Reed
Surface & finish

Daniel Reed

Notes on sanding, test samples, color and finishes that let the character of the wood show through.

Search This Blog