
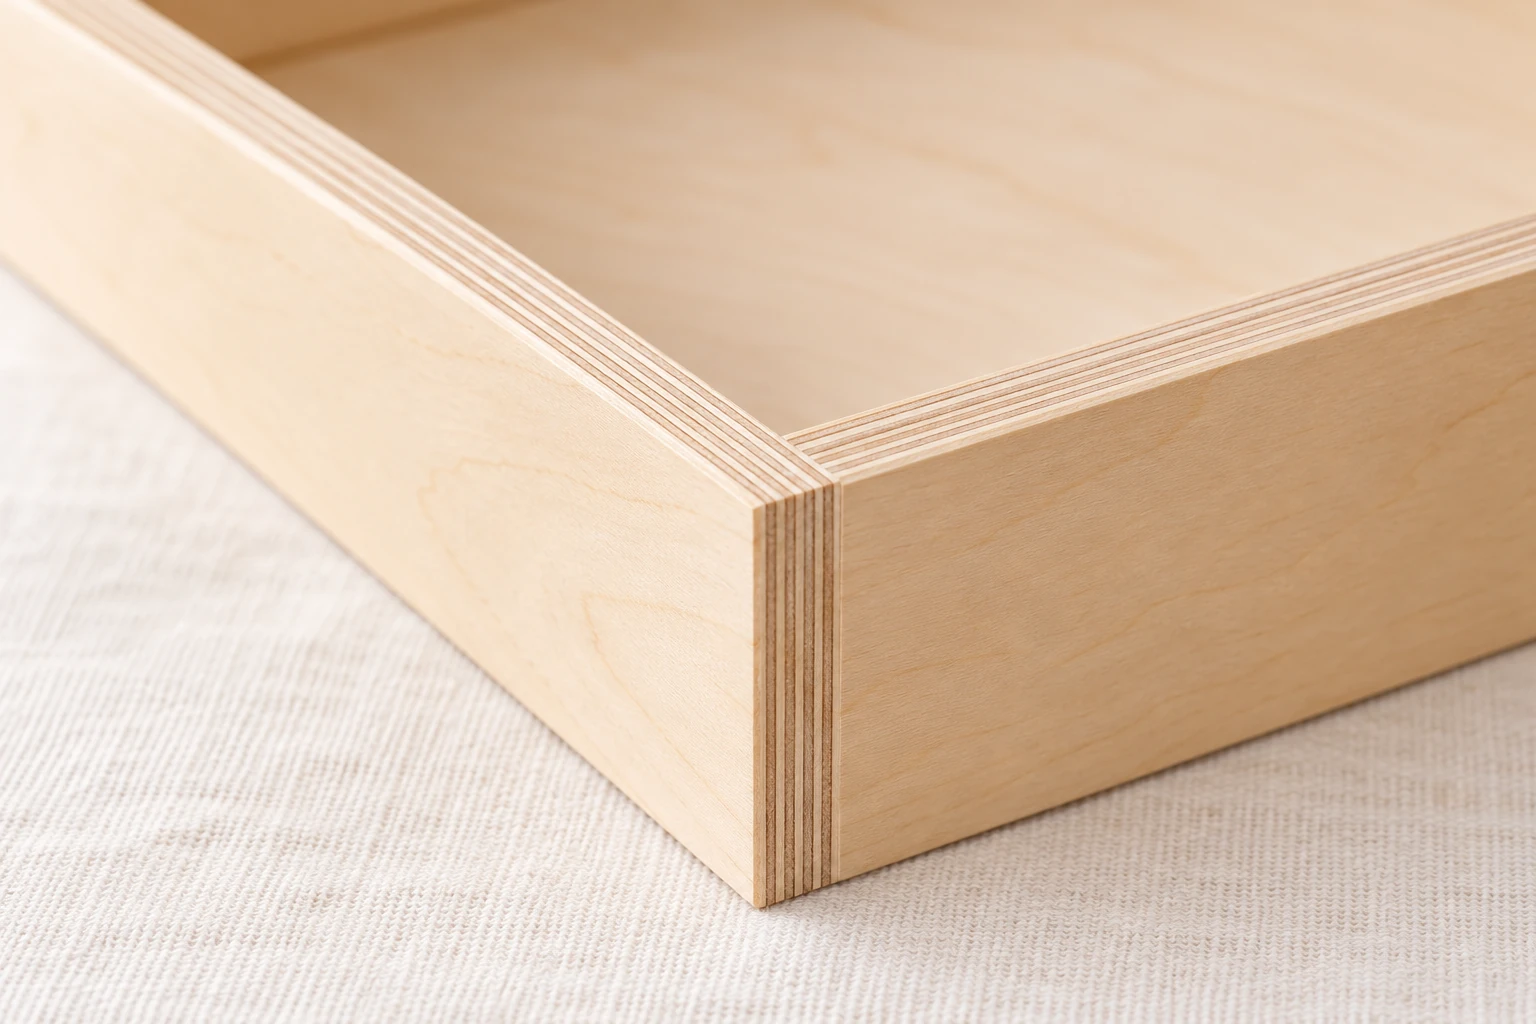
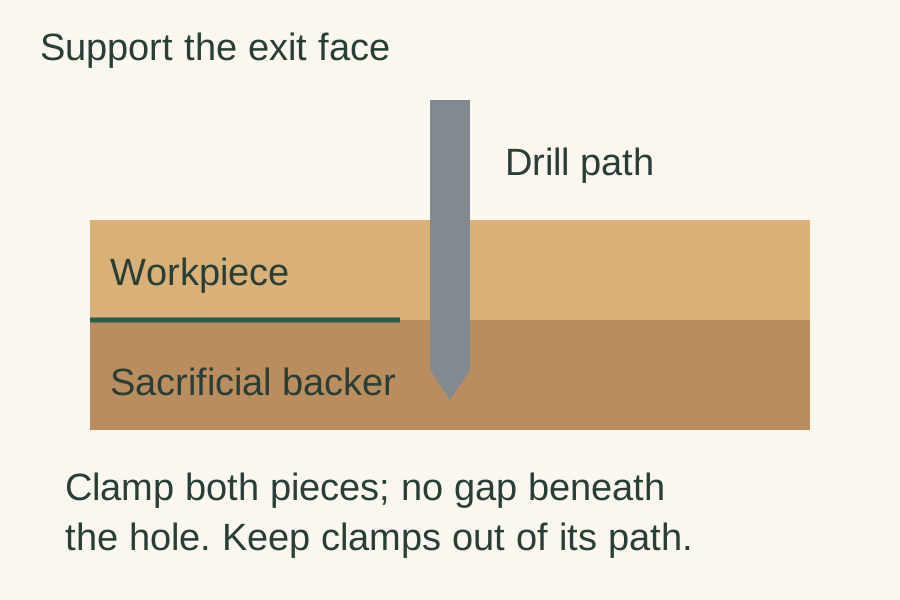
To reduce tearout when drilling through wood, clamp a sacrificial backing board firmly against the face where the bit will exit. Drill into that backing rather than into open air, and ease the feed as you approach the back of the workpiece. Test the arrangement on a matching offcut before drilling the finished part.
I would use a backer whenever both faces will remain visible. It takes a little longer to clamp, but an exit chip can be much harder to hide than a pencil mark. If the rear face is inaccessible, stop and plan a different approach before making the first hole.
Why the back of the hole splinters
The last fibers around a through-hole have little support when the cutter reaches them. A flat backer gives the exit face something solid to bear against. It must actually contact the wood beneath the hole; a bowed scrap or an existing hole directly underneath leaves the vulnerable area unsupported.
Bosch's drill instructions recommend a backing block for materials likely to splinter, including thin work, and securing the workpiece firmly. They also describe easing pressure before breakthrough. Follow the manual for your own drill and the bit maker's limits rather than borrowing a speed from an unrelated setup.
Prepare the work and the backer
| Part | What to check | Problem prevented |
|---|---|---|
| Drill bit | Correct diameter, suitable for wood, cutting edges in good condition. | A damaged or inappropriate cutter can spoil either face. |
| Backing scrap | Flat contact directly beneath the hole. | Unsupported fibers at breakthrough. |
| Clamps | Hold the assembly without obstructing the drill path. | Movement or spinning work. |
| Space below | Enough sacrificial material and clearance. | Drilling into the bench or hardware. |
| Trial piece | Same material and comparable thickness. | Discovering a poor setup on the finished part. |
Drill a clean trial hole
- Mark the hole position and identify which faces must remain clean. For plywood, inspect both outer veneers before starting so existing damage is not mistaken for new tearout.
- Put a flat, clean scrap against the exit face. Check underneath for gaps and arrange clamps so both pieces stay together. Protect a finished surface with suitable clean clamping pads.
- Check the complete drill path, including where the tip will enter the backer. Keep the work secured; do not hold a small loose piece with one hand while drilling it.
- Drill using the technique and speed specified for the tool and cutter. Clear chips as the tool instructions require. Reduce feed pressure near breakthrough instead of forcing the final section.
- Stop the drill fully before removing the work or inspecting the exit. Look for missing chips around the rim, lifted veneer and any shift from your marked position.
- Adjust the setup on another trial hole if necessary. Keep the accepted sample nearby while drilling the actual parts.
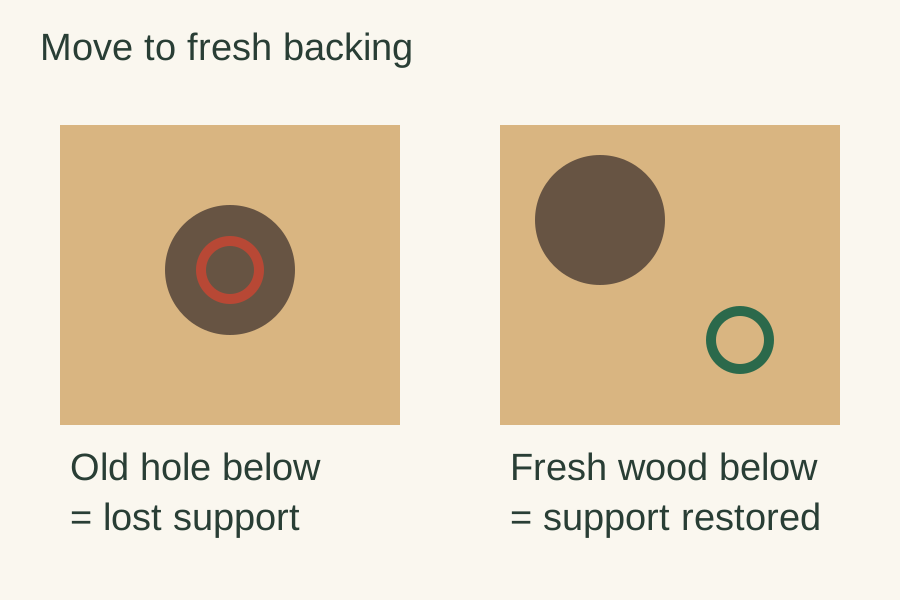
Move the backing board between holes
A scrap is reusable, but its drilled areas are no longer solid backing. Shift it so the next exit lands on fresh wood. For a row of holes, check that each position has support; lining up the first one does not guarantee the rest.
A practice example: after a clean first hole, the second develops a chipped rim. Before replacing the drill bit, check whether the new hole sat above an old opening in the backer. Change that one condition and repeat on scrap. This is a troubleshooting sequence, not a claim that every chipped hole has the same cause.
When drilling from both sides makes sense
Bosch also describes finishing from the opposite side after the point breaks through. That requires a suitable cutter and a reliable way to locate the same hole from the rear. Do not improvise this on a finished panel if you cannot see or reach the exit accurately.
For a first attempt, I would prefer a clamped backer because it keeps the work in one setup. A two-sided method becomes useful when a backer cannot fit and the hole can be aligned safely from both faces. Rehearse it on an offcut first.
Keep through-holes separate from blind-hole depth planning. For cabinet hardware, combine this backing check with a verified handle-hole template; clean edges cannot correct the wrong spacing.
Original editorial illustration.


Comments
Post a Comment