
An old bottle of wood glue is not automatically spoiled, and a bottle that still pours is not automatically trustworthy. Identify the exact product, check its storage history and inspect it using the manufacturer's guidance before committing a project to it. This guide concerns common water-based woodworking glues; epoxy, polyurethane and hide glue need their own instructions.
I would replace an uncertain bottle before gluing a chair repair or a valuable assembly. For a small practice project, checking the bottle and making a trial joint may be reasonable. The money saved on glue is rarely worth repeating several hours of joinery.
What does the shelf-life date actually tell you?
Titebond's glue FAQ explains that several of its white and yellow glues can remain usable beyond their stated shelf life. Storage matters. Keep the product name and batch code together; a purchase date alone cannot tell you how long a bottle sat in a warehouse or a hot shed.
That guidance does not create a new universal expiry date. A clear bottle label and a known storage history provide more useful information than another woodworker's claim that an old gallon worked perfectly. If the date code is unclear, ask the manufacturer to interpret it.
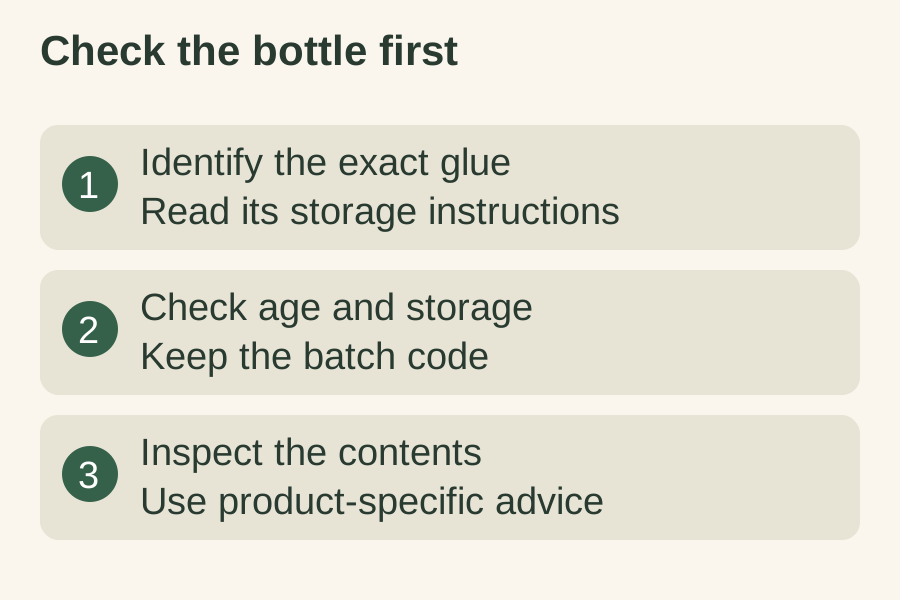
Check the product-specific warning signs
| Finding | What it means | Next step |
|---|---|---|
| Titebond Original is thick and stringy | The maker identifies this as unusable glue. | Replace it. |
| Titebond II has become an orange gel | The maker identifies this as unusable glue. | Replace it. |
| Titebond III has thickened | The maker says agitation can restore its form. | Follow its FAQ; do not assume every thick glue can be recovered. |
| Storage history or product identity is unknown | You cannot apply the correct limits reliably. | Contact the maker or replace the bottle. |
| Only the nozzle is blocked | A dried plug does not describe the whole bottle. | Inspect the contents separately; keep debris out. |
These examples are deliberately named by product. Color alone is a poor general test: different adhesives start with different colors. Do not transfer the orange-gel warning to every amber glue or assume that stirring will rescue an adhesive whose maker says to discard it.
Check an old bottle before the glue-up
- Read the label and current technical instructions. Confirm the glue is suitable for the joint and its eventual indoor or outdoor conditions.
- Write down what you know about storage: approximate age, whether it froze, and whether it spent time in unusual heat. Mark unknowns rather than guessing.
- Bring the work into the application conditions specified for that product. A warm room does not instantly warm a cold board or bottle.
- Inspect the glue on a disposable scrap. Look for the particular deterioration signs described by its manufacturer. Do not add water merely to make an unknown condition disappear.
- If the glue remains questionable, replace it or ask the maker before proceeding. For glue that passes those checks, prepare a representative trial assembly before the project.
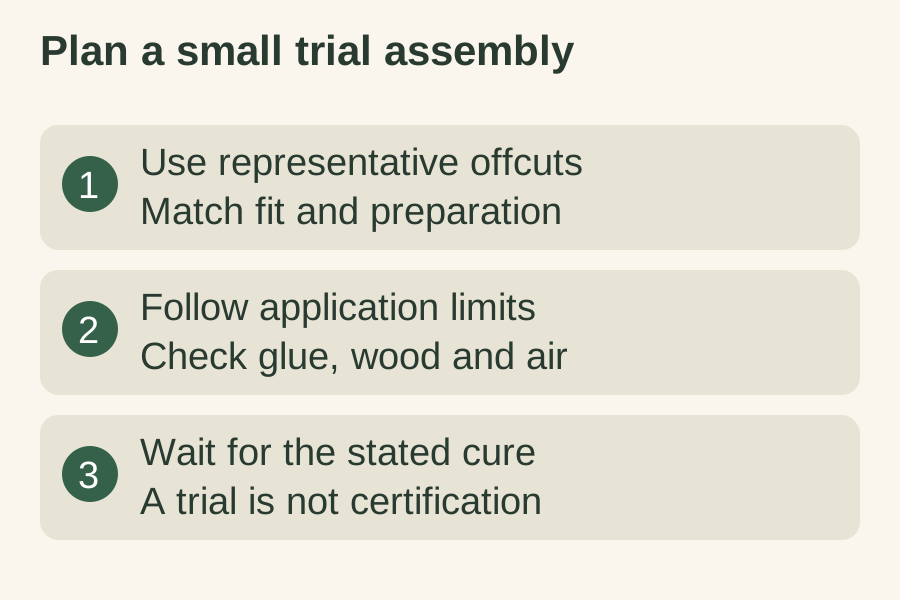
What a trial joint can and cannot tell you
Use offcuts of the same material and a similar joint fit. Prepare the bonding faces as you will on the project, apply the prescribed amount and follow the stated clamp and cure times. Label the sample with the product and date so it cannot be confused with another test piece.
A trial can reveal an obvious problem with spreading, assembly or bonding. It cannot certify the joint for a structural load, prove outdoor durability or establish a new shelf life for the bottle. An apparently hard bead of dried glue on scrap is especially limited: it does not recreate the actual joint.
For a practice example, imagine an old bottle whose identity is clear but whose storage is uncertain. A neat-looking trial bond would not resolve that missing history. I would still choose fresh, appropriate adhesive for a load-bearing repair and use the old bottle only if the manufacturer can support that decision.
Make the next bottle easier to assess
Buy a quantity you can use, mark when you opened it and keep the cap clean. Store it according to its own label. Avoid topping up a fresh bottle with unknown leftovers, which loses the useful distinction between batches.
Once you have suitable glue, plan the assembly with the wood glue drying-time guide. If the adhesive type itself is uncertain, compare wood glue types and their uses first.
Original editorial illustration.


Comments
Post a Comment