
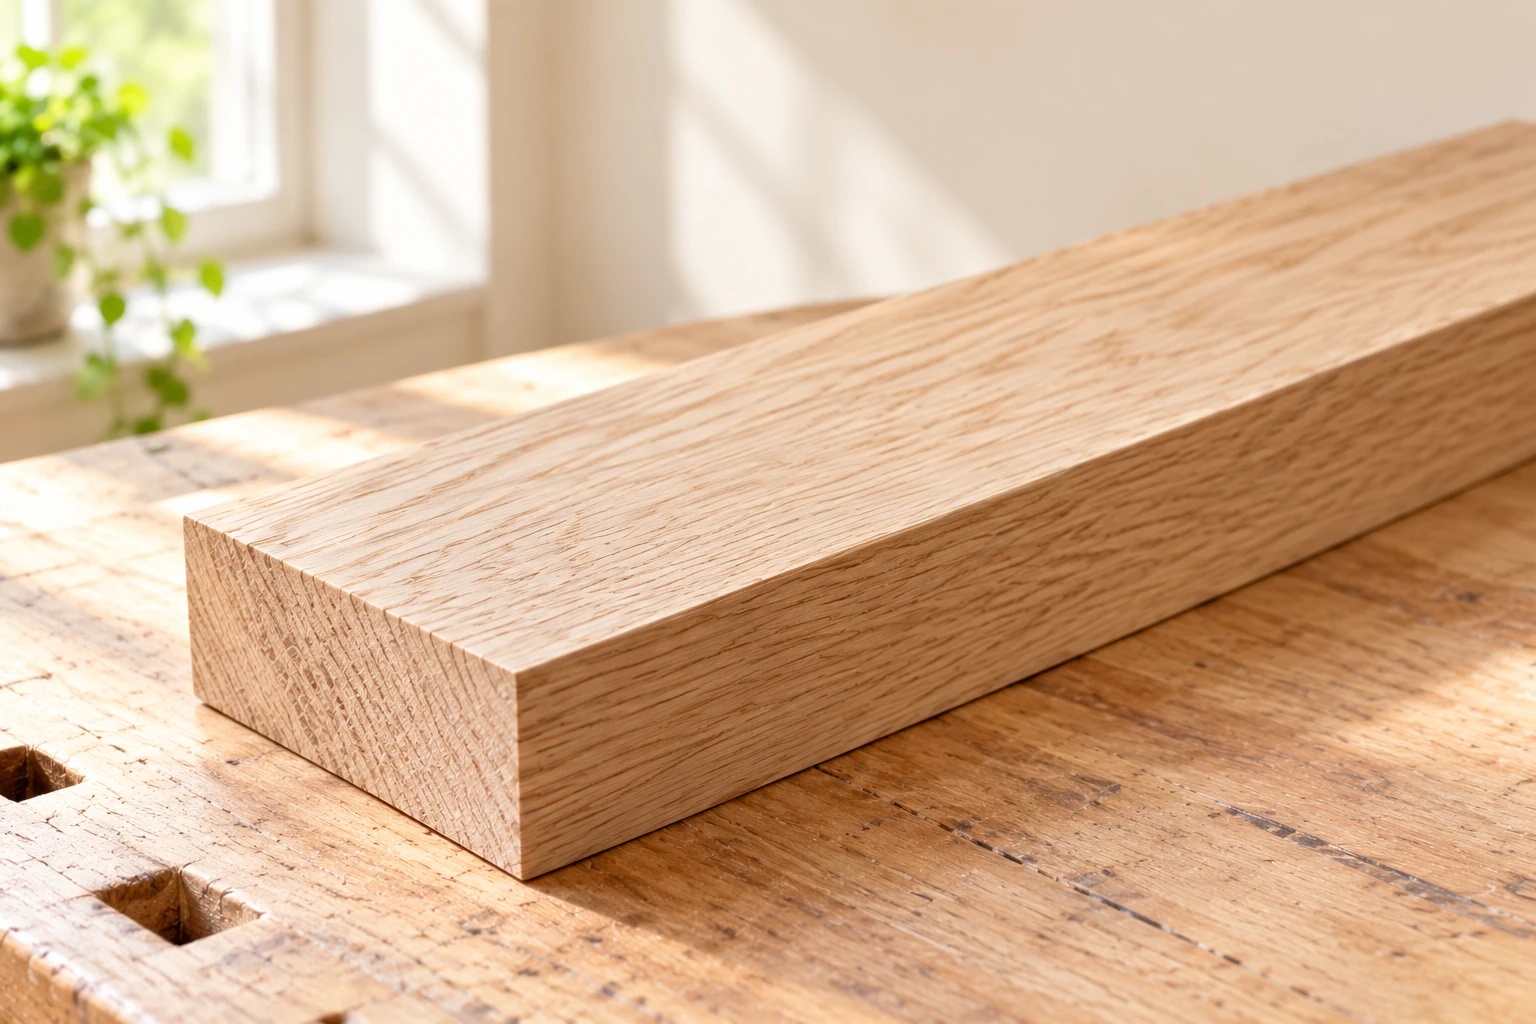
To prevent clamp marks on wood, protect every jaw contact with a clean, suitable pad and test the complete setup on a matching offcut. Look for dents, scratches and any change in the finish after releasing the clamp. A protective cap helps, but trapped grit, a tilted pad or unnecessary force can still spoil a visible face.
I would do this check before applying glue, especially on a part that has already been sanded or finished. Keep the accepted pad and sample together until the job is complete. If you change the clamp position or the surface treatment, repeat the check.
Check the jaw before choosing a pad
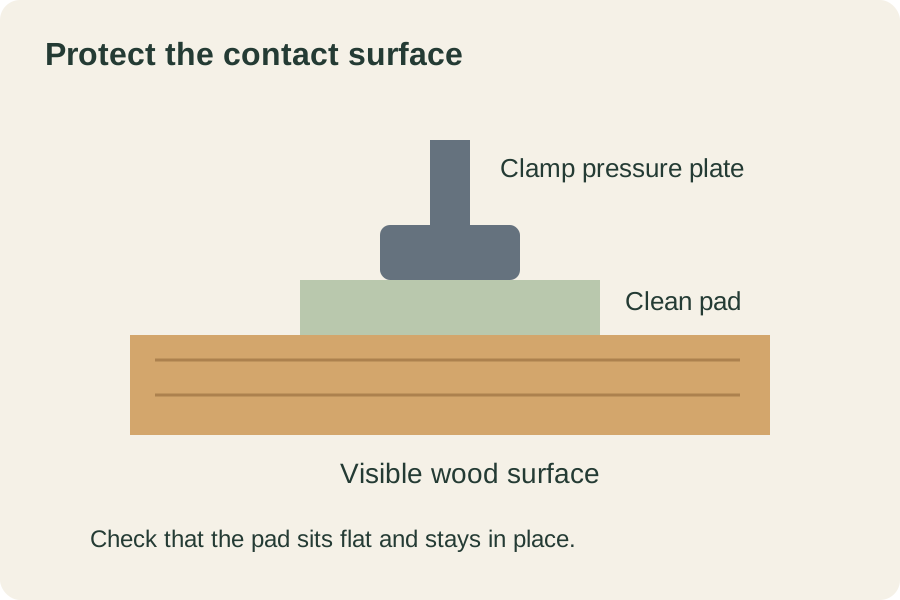
Inspect the pressure plate and the fixed jaw. Remove loose dirt, dried glue and debris using the clamp maker's cleaning instructions. Check that any fitted caps are intact and seated properly. A cap with embedded grit should not touch the project.
Bessey describes the protective plastic caps on its TG135 clamp as protection against pressure points and scratches. This is a feature of that product, not a promise that every clamp or homemade pad is safe on every finish. Check the parts and instructions for your own model.
Choose protection for the actual surface
| Situation | Starting approach | Check on scrap |
|---|---|---|
| Unfinished flat face | Clean fitted jaw cap or flat sacrificial pad | No dent or scratch after release |
| Finished face | Pad material compatible with that finish | No imprint, sticking or sheen change |
| Narrow edge | Stable pad that cannot roll or slide | Work stays aligned under the intended load |
| Curved or shaped part | Purpose-made support matching the shape | No concentrated pressure at one corner |
| Pad beside a glue joint | Plan clearance and cleanup before glue-up | Pad will not become trapped or glued on |
A larger pad can spread contact over a wider area, provided it sits flat and is stiff enough for the setup. A thin, bending scrap or a pad balanced on an edge may concentrate pressure elsewhere. Do not stack loose pieces until the arrangement becomes unstable.
Run a dry test in six steps
- Choose an offcut of the same material with a comparable surface. For finished work, prepare a separate sample with the same finish and let it cure according to its instructions.
- Mark the contact location lightly away from the test area. Photograph or inspect the surface first so you know which defects were already present.
- Arrange the clamp and pads in the positions planned for the project. Support the work so it cannot tip when the clamp is released.
- Tighten according to the needs of the assembly and the tool and adhesive instructions. Stop if the pad shifts or the work moves out of alignment; correct the arrangement before continuing.
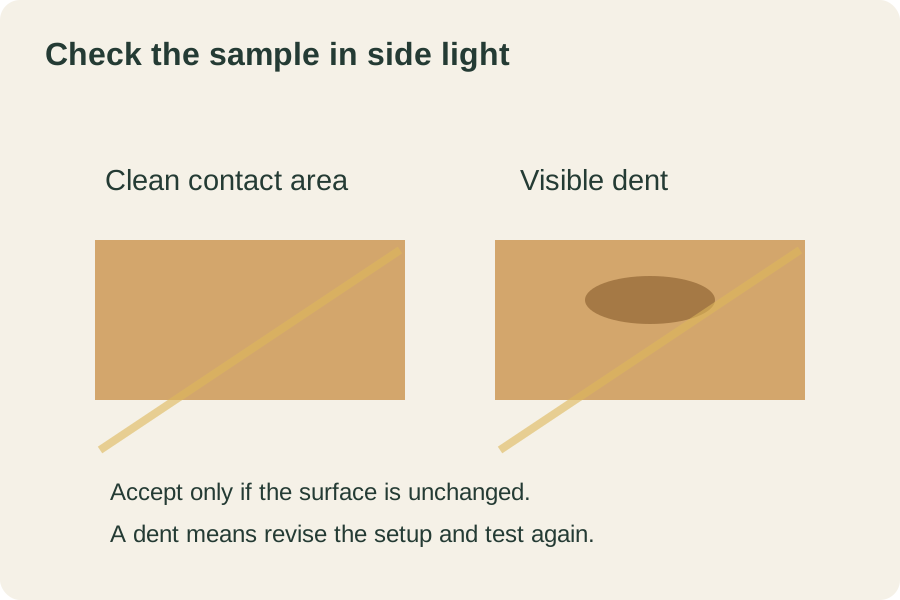
- Release the clamp and inspect under light coming across the surface. Check both faces and the edges of each pad contact.
- If a mark appears, revise the pad, contact position or clamping arrangement and repeat on a fresh part of the sample. Keep the successful setup for the actual assembly.
When more tightening is the wrong next step
A joint that refuses to close during the dry run may have a fit or alignment problem. Release it and inspect the parts. Extra force can hide a poor fit temporarily while leaving damage at the jaws. For a glue-up, follow the adhesive maker's pressure guidance; there is no useful universal number of handle turns.
For example, imagine a small frame whose corner opens as the opposite clamp is tightened. That is a practice scenario, not a reported test. I would check the frame on a flat surface, confirm the joints fit and adjust the clamp arrangement before trying harder pressure. A clean-looking pad cannot solve a distorted assembly.
Separate dents from discoloration
This guide concerns physical contact marks. A dark stain without a depression needs a different diagnosis; see our earlier clamp-stain note. Avoid treating every dark patch as something to sand away.
Make these checks part of the dry-clamping rehearsal. For a panel, also plan cauls and alignment before glue is on the wood. The finished trial should leave the surface unchanged and hold the parts where the project needs them.
Original editorial illustration.


Comments
Post a Comment